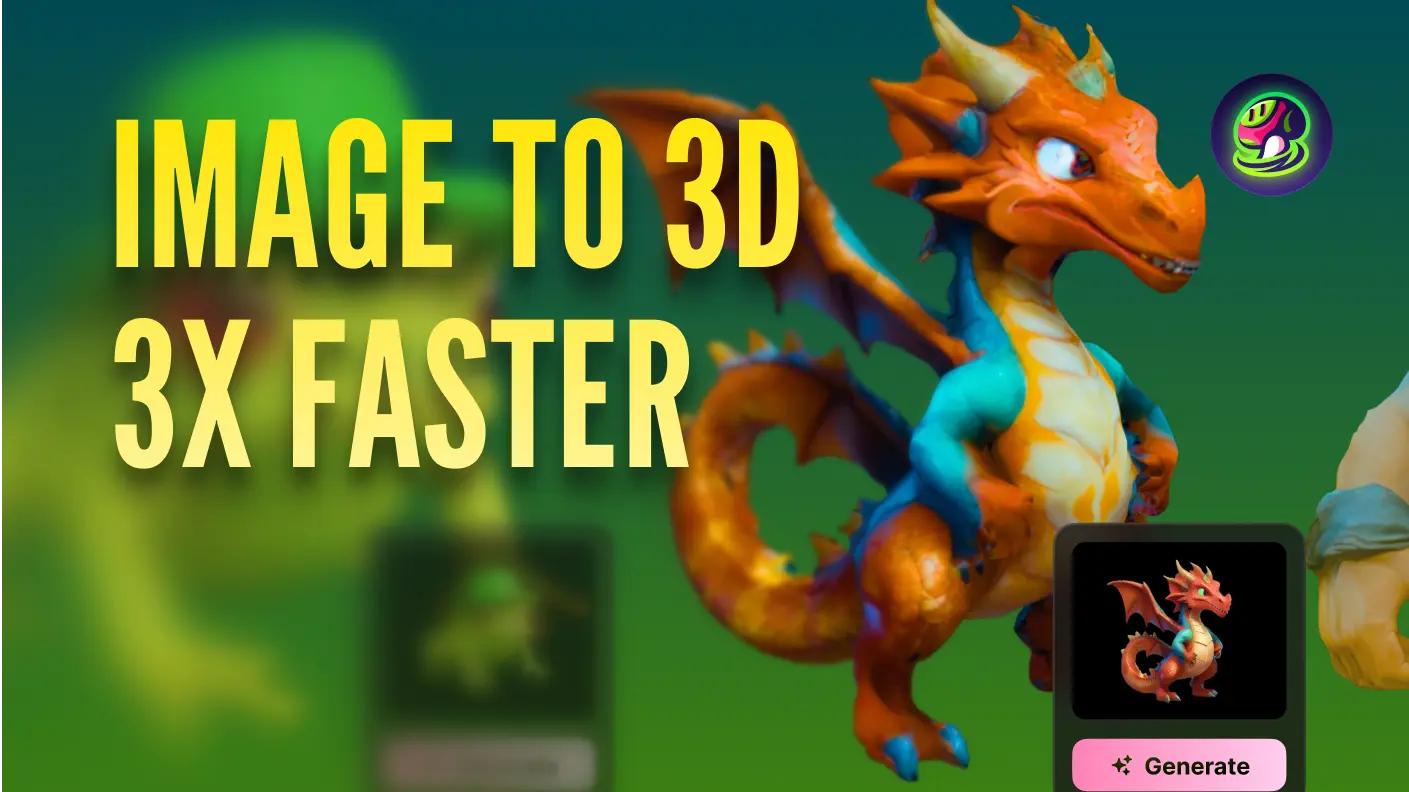
You are probably looking for a tool that can quickly convert 2D images to 3D models. Meshy, is an AI tool you are seeking. Without specialized skills or any accumulated experience, just simply upload a picture on it and wait a half minute, and you will get refined 3D models. Meshy can tackle your issues and take you to the 3D modeling world.
In this guide, we'll demonstrate how to create 3D models using Meshy, an advanced AI 3D model generator. This free 3D model maker allows for picture-to-3D model conversion, making it easy to create 3D assets from photos.
Step 1: Choose a 2D to 3D Conversion Tool Like Meshy
Efficient tools can save you from timeless work; we highly recommend you use user-friendly AI tools like Meshy. Click the "Worksapce" and "Image to 3D ", and then you will enter the site about a 2D to 3D converter workspace.
Meshy is an innovative platform that offers a blend of free, high-quality 3D models and cutting-edge AI tools for creators in the field of game development and beyond. Its standout features include text-to-3D and image-to-3D conversion, making it an excellent resource for those seeking to create 3D gaming models of their imagination.
![]()
Step 2: Navigate Meshy's Workspace UI
Might it be confusing for you? Now I will walk you through the workspace quickly!
Sidebar: The sidebar where you will turn the picture into a 3D model, allowing you to effortlessly make your thoughts a reality. and clicking the "Examples" and "Tutorials" will show you how to make it smoothly.
3D viewer: The 3D viewer is where you will review or adjust the generated 3D model, and you can easily assess if the generated model satisfies your requirements.
Assets: It is a display of all assets that will be used to categorize your assets and allow you to easily search for your generation.
![]()
Step 3: Upload an Image and Click Generate
Simply upload an image, click "Generate” and wait a half minute. If you are unsure about what kind of images to try, click “Example” and explore what we provide for you.
![]()
Tips on Input Image
To optimize the generated results, we recommend you to use a standardized front view of the object you're going to generate as the input image, with a white background and no text or extraneous information. This ensures the best quality when converting your 2D sketch to a 3D model.
Recommended inputs:
✅ Single object in one image
✅ Standard front view of the object
✅ White/monochrome/no background
Not recommended inputs:
⚠️ Text on the image
⚠️ Multiple objects in one image
⚠️ Complex background
❌ Inappropriate imagery (including but not limited to harmful content, offensive content, and NSFW content)
![]()
Step 4: Remesh the Draft Model and Apply the Texture
After the generation is completed, you will get 4 of the initial drafts and select one to verify the accuracy of the photo-to-3D model conversion. By adjusting the textures and remesh, you will get a refined 3D model.
![]()
Remesh
As you can see, you need to remesh the generated model. click"Remesh" and adjust the target polycount. There are two options for you: Adaptive and Fixed. Adaptive, which means it automatically determines the target polycount based on the structure of the model. Fixed, which means you can use a constant target polycount regardless of the structure of the model.
Furthermore, choosing the "Quad" or "Triangle" is a critical spot of the generation process. The quad could have fewer details with a given polycount, which also means that you need to edit it further. The triangle can generate optimized faces for game engines and maximize detail with a given polycount, but it is difficult to edit.
After explaining this, you can bravely click "Confirm" now.
![]()
Texture
Meshy can create various textures for you by simply describing your desired style of the object, such as the highest quality, ultra-detailed ancient style, or you can upload an image to add any type of texture you want.
![]()
Stylize
Meshy provides two art styles for you; both of them will refine your 3D models. You can choose "Sculpture", and use it to carve your 3D model and make it more vivid and aesthetic, or you can choose "BPR", which offers personalized optimizations to users automatically.
Sculpture Style: Create high-poly models with baked PBR textures, displacement, and ambient occlusion maps. Ideal for projects demanding photogrammetry-level quality and intricate detail.
PBR Style: Create Physically Based Rendering (PBR) maps to improve realism and add intricate surface details to your objects.
Step 5: Add Animation to Your Model
Now, you have got the point! Trying to add a series of animate could be interesting, Meshy allows you to add actions like walking, running, dancing, fighting, etc.
Rigging
To make your model move freely, click"Animate" and"Rig". Mehsy provides you with any kind of action which you can use.
![]()
Anchor Points
According to the right-side instructions, you need to move the markers to the corresponding positions. Preview animation presets, then download your fully rigged and animated model—ready to integrate into your 3D environment or refine further.
![]()
Step 6: Download Your 3D Models
To download your assets, simply click on the “Download” button on the right toolbar. We support downloading models in .fbx / .obj / .usdz / .glb / .stl / .blend formats. This flexibility allows you to use free 3D models in various applications and software.
![]()
Step 7: Share Your Creations
Congratulations! You have reached the final step. To share your creation with more people, just click on the two icons below the 3D viewer.
Maybe you have noticed Meshy has an incentive package for you. You can earn credits for each creation you make. If you share your work on social media, you will get 10 credits each time. If you share your work on Meshy, you will earn 50 credits!
Share to Social Media Platforms
If you want to share your artwork with your friends, simply click the “Share” button on the right toolbar. From there, you can share it via email or social media, copy a model preview link, or download a video preview of your creation.
![]()
Publish to the Meshy Community
Share your work with the community to attract like-minded partners and receive platform incentives. Don't forget to add a label and category.
![]()
Other Features You Might Need to Know About Meshy
Meshy has many functions. It supports various 3D file formats, such as OBJ, FBX, USDZ, GLB, STL, and Blend, ensuring compatibility with other 3D software like Blender and Unity. Its user-friendly interface and AI-driven features make it accessible to both beginners and professionals seeking to enhance their 3D content creation processes.
The tutorials listed above are all about creating 3D from 2D images. The process might be easy for you: to get the desired 3D model, and simply enter the appropriate picture into Meshy. If you want to learn more about Meshy's tutorials like 3D character models, 3D printing guides and game development, you may follow Meshy on social media sites, where it posts high-quality information every day.
![]()
Key features of Meshy include:
- Text to 3D: Users can input a textual description, and Meshy will generate a corresponding 3D model. This feature allows for rapid prototyping and visualization of concepts without the need for manual modeling
- Text to Texture: Meshy enables users to apply textures to existing 3D models based on textual descriptions, enhancing the visual quality and realism of the models.
- Animation: Meshy offers plugins to create rigged and animated 3D characters, facilitating the development of dynamic models for various applications, including games and VR/AR.
- Community: Upload your generated models on the Meshy community, you will get fans from around the world; moreover, you can get more inspiration from other people's outcomes by navigating the community.
- API: Integrate Meshy with your own applications or systems to leverage the power of AI.
Conclusion
That's it for this article. We have demonstrated precisely the process of converting 3D models into a 2D picture; it must be a piece of cake for you. Whether text to 3D or 2D to 3D, Mehsy meets all of your needs. Especially for beginners and 3D hobbyists, Meshy can simplify your workflow, and it will be a fantastic journey for you, so try Meshy now!


