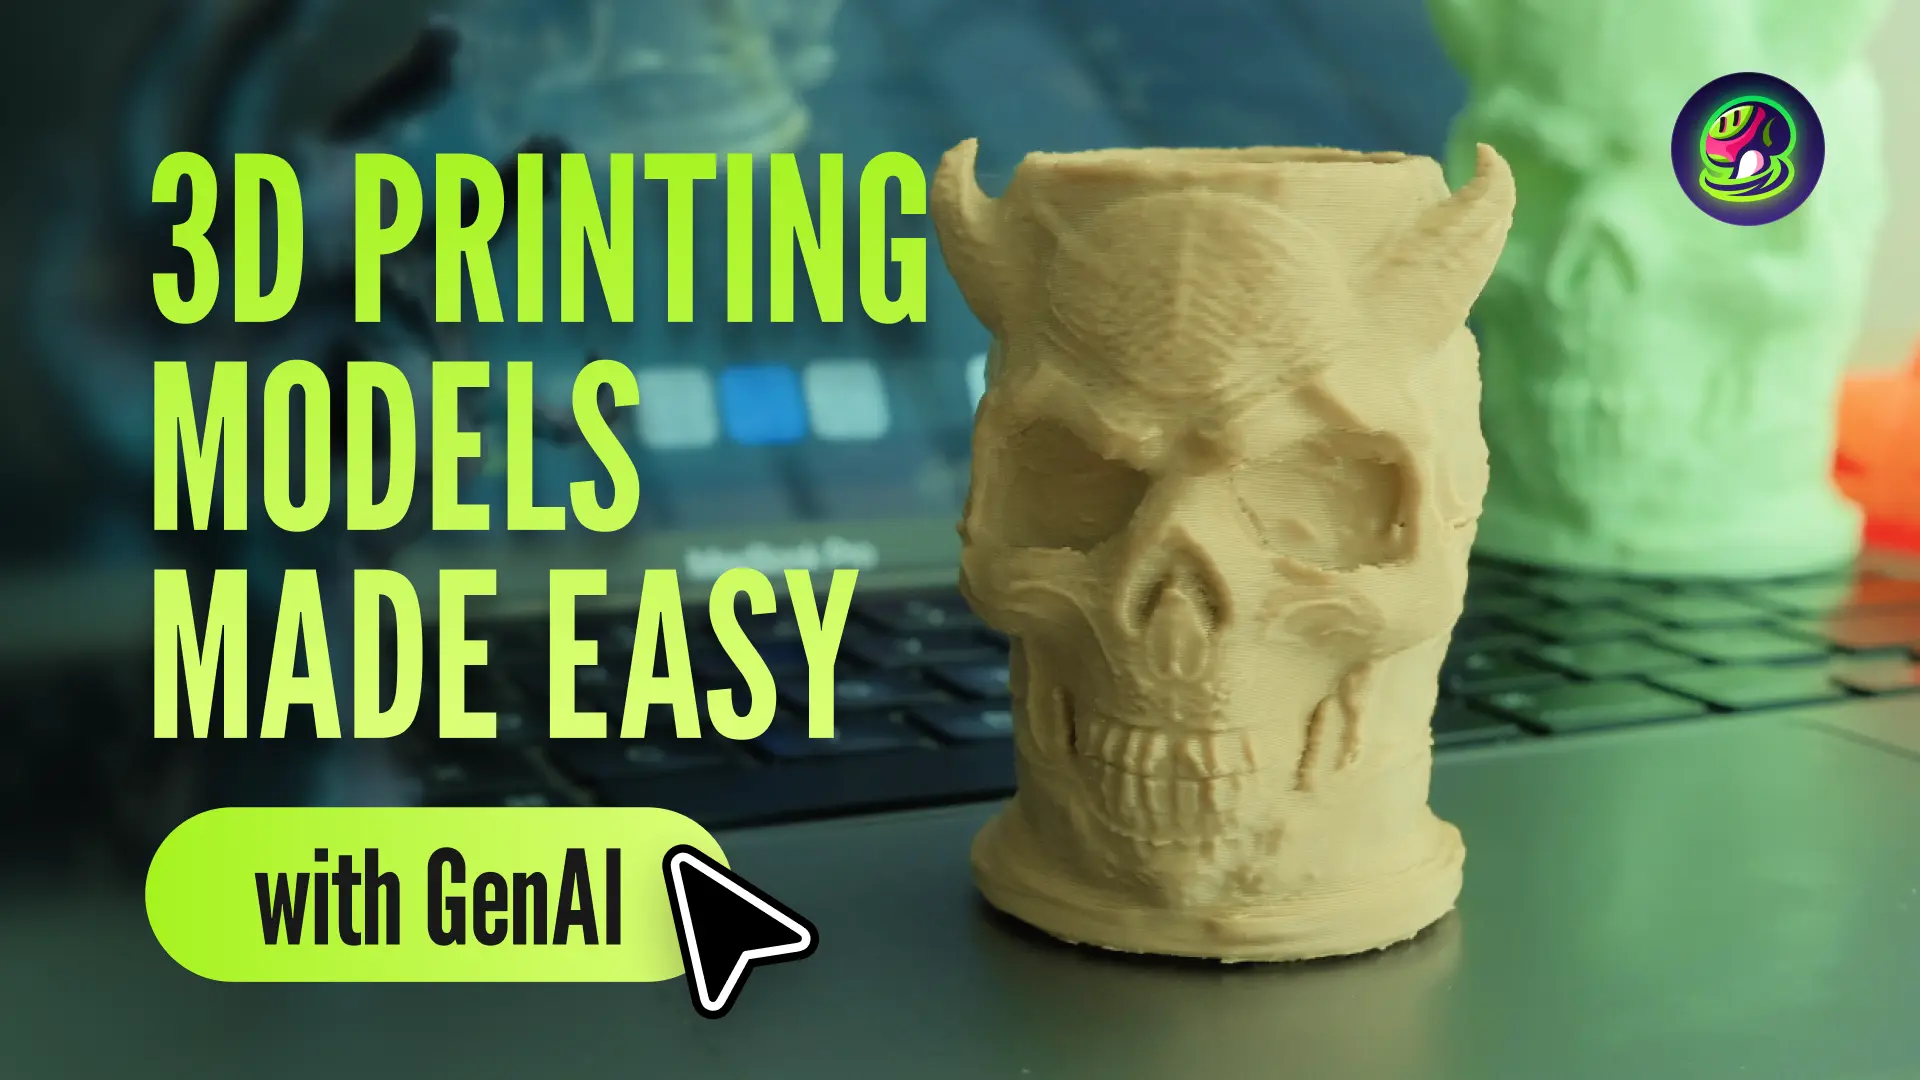
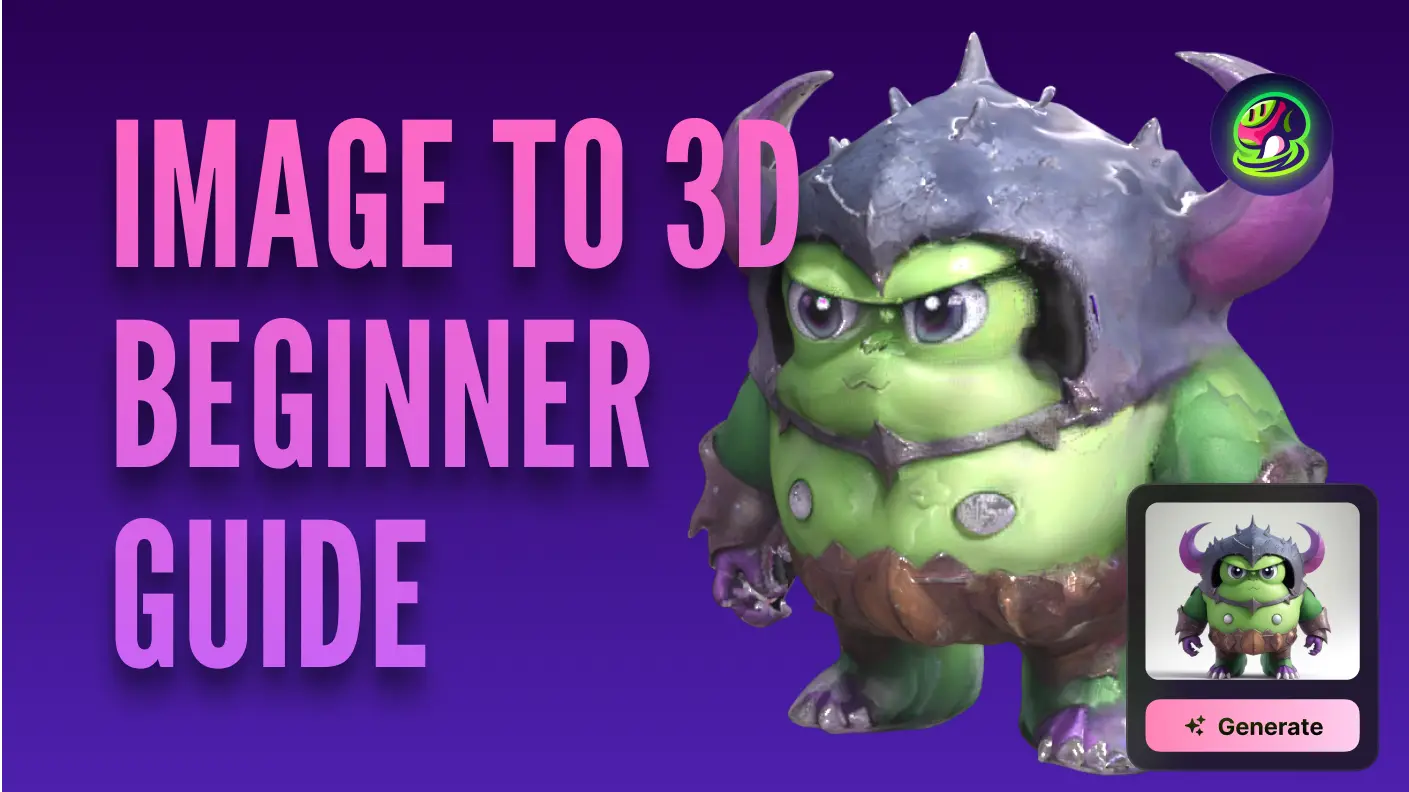
In the world of 3D printing, the ability to transform a simple 2D doodle into a tangible 3D object is nothing short of magic. With the advance of AI, this transformation has become not only possible but also remarkably accessible. Meshy AI is at the forefront of this revolution, simplifying the 3D modeling process and making it available to a wide range of users, from professional designers to DIY enthusiasts.
What is 3D Modeling for Printing?
![]()
3D modeling for printing involves creating digital blueprints that guide a 3D printer in constructing an object layer by layer. This process starts with designing models that adhere to the technical constraints of 3D printers, ensuring the final product is structurally sound and functionally viable. Every aspect of the design—from its geometry to its scale—requires careful consideration to ensure the model can be successfully printed without issues.
The design phase typically leverages Computer-Aided Design (CAD) software, which offers precise control over a model's dimensions and features. CAD software is indispensable, providing the tools necessary to create complex shapes and assemblies. These digital models must have manifold geometries, meaning they must be watertight and devoid of non-manifold edges to avoid printing errors.
However, the world of 3D modeling is not just for experts anymore. With the advent of AI-powered tools like Meshy AI, the process has become more accessible and user-friendly. Meshy AI simplifies the 3D modeling process, allowing users to transform simple 2D sketches into complex 3D models with ease. This AI-driven approach democratizes 3D printing, making it possible for a broader audience to participate in the creation of 3D objects.
Once the digital model is complete, it undergoes a process known as slicing. This involves converting the 3D model into a series of 2D layers, each representing a cross-section of the object. Slicing software calculates the path the printer's nozzle will take, setting parameters like layer height and print speed to optimize the printing process.
How to Create Printable 3D Models with Traditional CAD Tools
For many years, the creation of 3D printable models has been dominated by traditional CAD tools. While these tools offer a high degree of precision and control, they can be intimidating for new users due to their complex interfaces and the extensive knowledge required to operate them effectively.
With traditional CAD tools, the process can be as follows:
Choosing the Right Software
![]()
Selecting appropriate software is pivotal in the 3D modeling process. Beginner-friendly platforms like TinkerCAD offer intuitive interfaces for simple projects, whereas more advanced tools like Fusion 360 provide robust features for intricate designs. Essential considerations include:
STL Compatibility: Ensure the software supports STL exports, as this format is standard for 3D printing.
Feature Set: Look for software that offers comprehensive modeling capabilities, including parametric design and mesh editing.
Tutorials and Resources: Access to tutorials can accelerate your learning curve, providing insights into efficient modeling techniques and best practices.
Starting your Design with Printability in Mind
Ensuring a model is ready for 3D printing involves more than just creating an appealing design; it requires considering the specific requirements of the printing process. A critical aspect of this is ensuring the model's geometry is complete and free from errors that could disrupt printing. This foundational integrity prevents issues during slicing, ensuring each layer of the print aligns correctly and supports the overall structure.
A key factor in 3D model design is the consideration of structural integrity, which affects both the printability and the success of the print. Designers must anticipate how the model will be constructed layer by layer, ensuring stability and functionality throughout the process.
![]()
Optimize Your Model for Printing
Fine-tuning a 3D model for printing is an essential phase that involves modifying the design to ensure it meets the technical requirements for successful printing. This stage requires the use of sophisticated software to adjust various aspects that might affect the print's quality and efficiency. By paying close attention to these adjustments, you can enhance the accuracy and fidelity of the final product.
Slicing software transforms the digital model into a language that the 3D printer understands, dividing the model into horizontal layers. This process involves meticulously setting parameters that influence the print's outcome, such as the layer thickness, which affects both the detail and the duration of the print.
A finer thickness results in a more detailed product but extends the print time, whereas a coarser setting reduces detail for quicker prints. The infill percentage is another crucial factor, impacting the model's weight and sturdiness; higher infill results in a denser, more robust object, albeit with a longer print time.
![]()
Ensuring Proper Scale and Fit
Accurate scaling is vital to ensure the model fits within the printer's constraints and achieves the intended dimensions. It's important to verify that all parts of the model are correctly proportioned, particularly if they must integrate with other components. An incorrect scale can lead to inefficiencies and material waste, necessitating additional adjustments.
Export and Test Your Model
As your model reaches completion, exporting it in a format comprehensible to 3D printers is essential. Common formats like STL and OBJ are widely used due to their compatibility with most 3D printing software. Ensuring that the export maintains the model's integrity—preserving crucial details such as scale and resolution—prevents discrepancies during the print process. Double-check export settings to confirm these specifications are intact to facilitate a seamless transition from digital to physical.
Step by Step Guide to Creating 3D Printable Models with Meshy
While traditional CAD tools offer a deep level of control over the design process, their complexity and the time required to master them can be a barrier for many aspiring 3D modelers.
This is where Meshy AI changes the game. By using AI to simplify the 3D modeling process, Meshy AI reduces the learning curve and time investment traditionally associated with CAD tools, making it easier for anyone to create 3D printable models. With Meshy AI, you can transform your 2D sketches into 3D models with just a few clicks, opening up a world of creative possibilities.
Here, we provide you with a detailed step by step guide to try out Meshy's Image to 3D feature, allowing you to fully experience the fun of creating your own 3D printable models without too much trouble.
Step 1: Preparing Your 2D Sketch
![]()
Before you can bring your doodle to life, you need a well-prepared 2D sketch. A good sketch for 3D modeling should have clear, distinct lines and shapes that can be easily interpreted by AI. Here are some tips for creating a 2D sketch for 3D modeling:
- The image should be of one object instead of several different objects in the same picture, or it would be confusing for the AI to generate.
- Ensure that the lines are clean and that there is minimal clutter in the background. The sketch should perfectly show the essential characteristics of the object.
- Save your sketch in a format compatible with Meshy AI, such as JPEG or PNG.
Once your sketch is ready, you can prepare your image for 3D transformation with Meshy AI. This may involve resizing the image to fit the requirements, like adjusting the brightness and contrast to enhance the clarity of the lines.
Step 2: Uploading Your Sketch to Meshy Image to 3D
![]()
To start the magic, you'll need to upload your sketch to Meshy Image to 3D. Here's how:
- Navigate to the Meshy platform and log in or create an account if you haven't already.
- Locate the Image-to-3D feature and upload your prepared 2D sketch.
- Follow any on-screen instructions to position and scale your image as needed.
Ensure your sketch is set up for successful 3D conversion by double-checking the orientation and ensuring all necessary details are visible and well-defined.
Step 3: Transforming Your Image to 3D
![]()
With your image uploaded, it's time to click the 'Generate' button. This is where Meshy AI's AI algorithms take over, analyzing your 2D sketch and transforming it into a 3D model. What you can expect during the transformation process is a series of calculations and adjustments as the AI interprets your sketch.
Step 4: Reviewing and Downloading Your 3D Model
Once the transformation is complete, you'll be presented with your new 3D model. Take a moment to review it, looking for any areas that may need adjustments. Meshy AI may offer tools to make minor tweaks to the model directly on the platform.
Once you're satisfied with your 3D model, you can download it as an STL file, which is the standard file format for 3D printing.
![]()
Step 5: Preparing for 3D Printing
With your STL file in hand, it's time to prepare for 3D printing. Using a slicing tool designed for 3D printing, you'll make final edits and preparations to ensure your model prints correctly. This step involves:
- Import the STL file into your slicing software.
- Adjusting print settings such as layer height, infill, and support structures.
- Previewing the print to check for any errors or improvements needed.
![]()
Here are some tips for the slicing process:
- Pay attention to the orientation of the model to minimize support material.
- Ensure that the print settings match your 3D printer's capabilities.
- Run a test print with a simpler model if you're unsure about the settings.
Step 6: 3D Printing Your Model
Now that your model is ready, it's time to set up your 3D printer. This involves:
- Loading the sliced file onto your 3D printer.
- Ensuring the print bed is clean and leveled.
- Starting the print and monitoring the initial layers for any issues.
While the model is printing, keep an eye out for:
- Warping or uneven layers, which may indicate a need for a brim or raft.
- Filament jams or tangles, which can be caused by a clogged nozzle or tangled filament.
- Over- or under-extrusion, which can affect the strength and appearance of the print.
![]()
There! You can have your printed model with simple steps, not worrying about how to build the model from scratch. With the help of Meshy AI, 3D printing becomes an easy processs, where everyone can use their imagination to create real-life models.
Embracing the Future of Creativity with Meshy AI
Meshy AI has made the process of creating 3D printer models from 2D sketches not only possible but also incredibly user-friendly. This technology opens up a world of opportunities for creativity and innovation in the field of 3D printing. As AI continues to evolve, its potential to revolutionize 3D printing and design is limitless.
Don't miss out on the chance to explore your creativity with Meshy AI. Click the link below to get started with Meshy AI and transform your doodles into stunning 3D prints.


