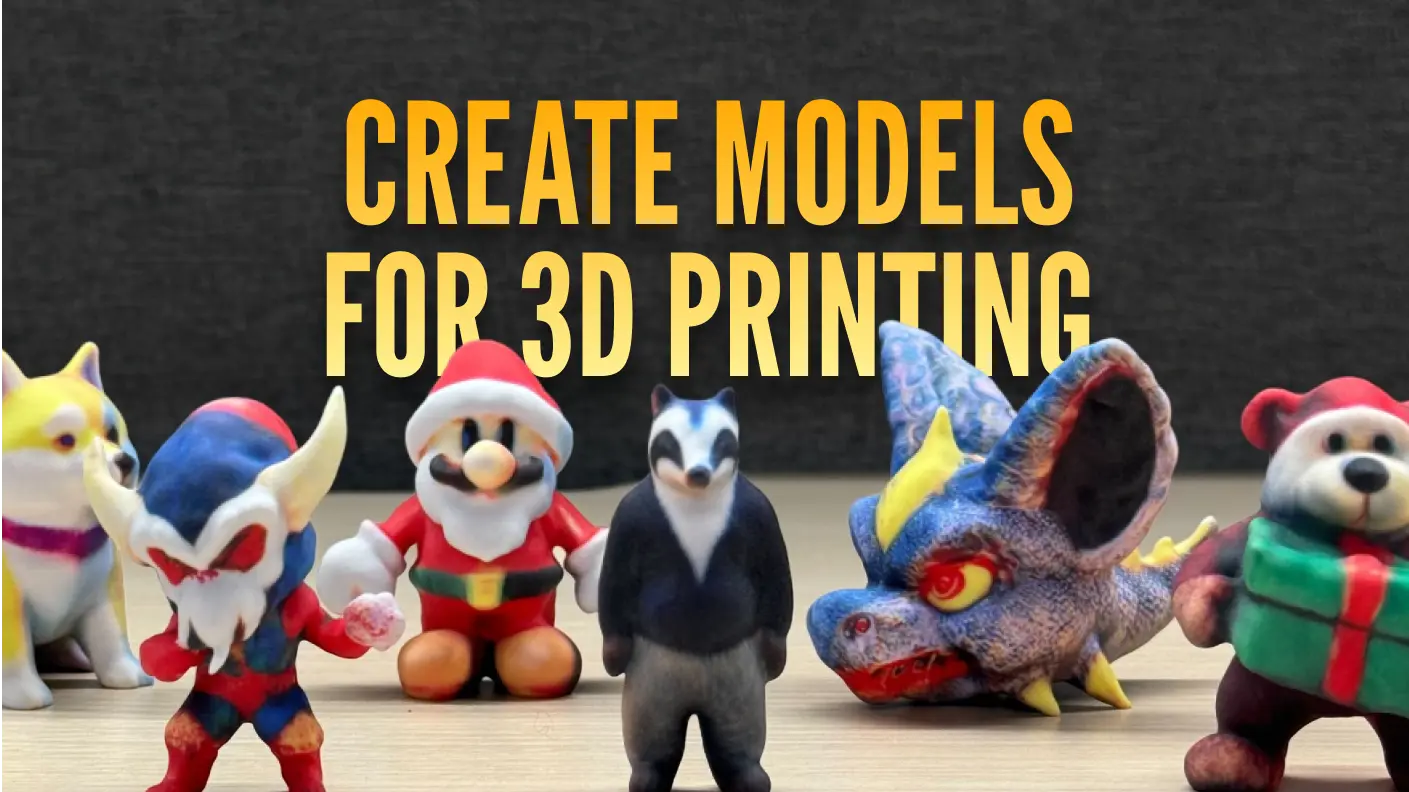
Looking to bring your creative ideas to life with a 3D printer? Or curious about how to use Blender for 3D printing, searching for a Blender tutorial for 3D printing that covers everything from start to finish?
If so, you've come to the right place! This tutorial will show you how to use Blender for 3D printing, providing you with a step-by-step guide. Whether you’re a hobbyist or a pro, just dive in and get started on your next masterpiece!
Why Blender + Meshy for 3D Printing?
Most people tend to use only one toolkit to do 3D printing. However, we propose an alternative method to streamline and accelerate the 3D printing preparation process by integrating Blender with Meshy, an AI-powered 3D model generator.
As a versatile, open-source 3D software suite, Blender is widely used in various fields, including animation, visual effects, and 3D printing. It allows users to model 3D objects, edit downloaded models, and customize them according to their needs.
Meshy uses AI to generate 3D models based on text and images within seconds. This makes it perfect for users without a background in 3D modeling, as it simplifies the entire process. With Meshy, you can input text descriptions or images to get fully customizable 3D models. It’s an intuitive way to create models without needing advanced design skills.
By using Blender + Meshy, you can get:
- Speed and Simplicity: Meshy provides fast 3D model generation, perfect for those new to modeling.
- Advanced Customization: Blender’s extensive features offer advanced options to refine your Meshy-generated models, making Blender a great tool to prepare models for 3D printing.
- An Easy and Quick Start: They are both perfect for all skill levels. Meshy is beginner-friendly, while Blender’s comprehensive toolkit is ideal for experienced users seeking a Blender tutorial for 3D printing.
We believe that with this step-by-step tutorial, you will learn how to prepare your 3D model for 3D printing using Blender and Meshy. If you prefer the video tutorial, here is the YouTube video:
Blender Basics: How to Set Up and Get Started with Blender
Getting started with Blender is easy. Here’s a quick guide to setting it up:
- Install and Configure: Blender is free to download from blender.org and compatible with Windows, macOS, and Linux. After installation, you can customize settings like interface themes and shortcuts.
- Interface and Navigation: Blender’s workspace includes a 3D viewport, outliner, properties editor, and more. Mastering navigation tools like zoom, pan, and rotate will help you explore your model effectively.
- Frequently Used Tools for 3D Printing: Blender includes essential tools for 3D printing, like modifiers (for transforming shapes) and sculpting tools for fine details. You can export models in various formats for 3D printing, such as STL or OBJ.
Create Your Own 3D Models with Meshy AI
Meshy’s unique features make it a user-friendly entry point into the 3D world:
- Text to 3D / Image to 3D: Simply type a description of what you want, or upload an image, and Meshy generates a model based on that input.
- Text to Texture: Create high-quality textures for your 3D models effortlessly with simple text inputs.
- Art Style Options: Meshy offers various styling options, so you can choose how realistic or stylized you want your model to be. This is ideal for artists and designers looking for creative freedom without technical limitations.
How to Prepare Your Models for High-Detail 3D Printing in Blender
Step 1: Open the Website and Register Your Account
Click here and open the Meshy website. Sign up and you will get free credits for your first try!
Step 2: Generate Your Own 3D Model with Meshy
On the homepage of Meshy, you can see the "Text to 3D" button. Click it and you will then enter a user interface as below. Describe what kind of model you want to have (namely the prompt). Click "Sculpture" style and then click "Generate". Just wait for minutes and you can see the generated model on the right.
![]()
If you don't know how to write the prompt, see this guide.
Step 3: Download and Import
If you are satisfied with the model, download it and import it into Blender.
![]()
Step 4: Add Subdivision and Displacement for More Detail
In Blender, click "Add Modifier" and then click to add subdivision surface and displacement to further refine it. You can see that some minor changes have been made to this model.
![]()
Step 5: Open Height Map from Meshy
Load a grayscale image (height map) that represents depth data for a 3D model in Meshy. Once the height map is open, apply it to the surface of your model. This can create realistic textures or intricate surface details on your model.
Step 6: Adjust Parameters
In your Blender interface, locate the UV mapping or UV editing section. This is usually found under “Material” or “Texture” settings (in this case, it is under the latter). Select “UV coordinates” if it’s not enabled by default. Then you can adjust the parameters for optimal results.
![]()
Step 7: Export STL File
Once you're satisfied with the model, click the "File" button on the upper left corner, and export the STL file.
![]()
Step 8: Import into Slicing Software
Import the STL file into slicing software, for example, Bumbu Lab, and add auto support. Then adjust filament settings. You can refer to the adjustment method shown below, or you can try to make different adjustments yourself.
![]()
Step 9: Send the Model to 3D Printer
When everything’s ready, send the job to your 3D printer.
![]()
Now you can get your high-detail 3D print! You can also notice the difference between low and high-detail mode! Isn't it pretty cool?
![]()
Blender + Meshy: Facilitate Your 3D Printing Process Now!
Combining Blender and Meshy is an ideal approach for anyone looking to prepare models for 3D printing. By using both tools, you can create high-detail 3D models. For personal or professional projects, this combination makes it easier than ever to bring your creative ideas to life with 3D printing!


