With its ability to produce intricate shapes with minimal waste, 3D printing is an essential tool for artists, designers, and innovators. For those new to this technology, understanding the basics is crucial. This guide provides foundational knowledge on 3D printing, from its core principles to practical applications across various industries. Whether you're a hobbyist exploring new projects or a professional seeking to streamline workflows, mastering 3D printing opens up endless possibilities for innovation and creativity.
How to Start with 3D Printing
Key Considerations for Beginners
Before diving into 3D printing, evaluate the different printer options and initial setup requirements. Each printer type is tailored to specific tasks, and understanding these distinctions aids in making an informed selection.
- Printer Varieties: Familiarize yourself with key categories like FDM for affordability and simplicity, SLA for high-detail precision, and SLS for producing robust, intricate parts. Your decision should align with the level of detail and material compatibility you require for your projects.
- Setup Essentials: Preparing your workspace involves more than just setting up the machine. Consider factors like space, ventilation for certain materials, and a reliable power source. Essential tools, such as calibration kits and maintenance supplies, will ensure your printer functions optimally and delivers superior results.
Step 1: Choose the Right 3D Printer
Each type of 3D printer—FDM, SLA, and SLS—offers distinct capabilities that cater to different needs, from simplicity and cost-effectiveness to high resolution and material versatility.
Overview of 3D Printer Types
- Fused Deposition Modeling (FDM): Known for its straightforward operation and wide accessibility, FDM printers work by layering melted plastic filament to create objects. They are particularly favored in educational settings and for hobbyists due to their balance of cost and functionality, making them an excellent entry point for newcomers.
- Stereolithography (SLA): This technology excels in producing intricately detailed models by employing a focused light source to harden liquid resin. SLA is ideal for applications demanding high precision and a flawless finish, commonly used in industries like dentistry and jewelry for crafting fine prototypes.
- Selective Laser Sintering (SLS): SLS stands out by utilizing a laser to consolidate powder materials into solid forms, enabling the construction of robust, detailed parts. This method is particularly advantageous for producing components with complex internal features, often used in engineering and manufacturing for its robustness.
Factors to Consider
When selecting a 3D printer, consider several key factors to ensure the best fit for your needs:
- Budget: Determine your budget range, as prices vary widely between printer types and models. FDM printers generally offer the most cost-effective solution, while SLA and SLS printers may require a higher investment for their advanced capabilities.
- Materials: Evaluate the types of materials you plan to use. FDM supports a broad range of thermoplastics, while SLA and SLS offer access to specialized resins and powders, respectively.
- Intended Use: Clarify the primary purpose of your 3D printing endeavors—whether it's for prototyping, artistic creations, or functional parts.
Comparison of Popular Models
Several 3D printer models stand out for beginners, offering a balance of functionality, ease of use, and affordability:
- Prusa i3 MK3S+: This FDM printer is celebrated for its reliability, user-friendly features, and extensive community support. It provides excellent print quality and supports a wide range of materials.
- Anycubic Photon Mono X: An SLA printer known for its high precision and large build volume, making it an excellent choice for those seeking detailed prints without compromising on size.
- Formlabs Fuse 1: An accessible SLS option, this printer is designed to simplify the production of robust, complex parts, offering professional-grade results at a competitive price point.
By carefully evaluating these factors and considering the strengths of each printer type, you can make an informed decision that aligns with your creative goals and technical requirements.
Step 2: Gather Essential Tools and Materials
Necessary Tools for Setup and Maintenance
- Precision Adjustment Kits: Achieving precise prints requires meticulous calibration. These kits help you adjust your printer’s settings to maintain consistent quality and prevent errors like misalignment.
- Cleaning Equipment: Regular upkeep involves removing debris and residue. Use dedicated brushes, isopropyl alcohol, and lint-free cloths to clean your printer’s components, reducing the risk of clogs and ensuring a pristine printing surface.
- Backup Components: Having spare parts such as extruders, belts, and build platforms ensures quick replacements when needed. This proactive approach minimizes downtime and keeps your projects on track.
Overview of Popular 3D Printing Materials
- PET (Polyethylene Terephthalate): Known for its strength and flexibility, PET is a versatile material suitable for a range of applications. It offers excellent impact resistance and is often used for durable, functional parts.
![]()
- Nylon: Renowned for its durability and resilience, nylon is ideal for parts requiring high mechanical strength. It is frequently used in industrial and engineering applications due to its robust nature.
![]()
- TPU (Thermoplastic Polyurethane): This material provides flexibility and elasticity, making it perfect for prints that require a rubber-like texture. Its ability to withstand wear and tear makes it a popular choice for creating flexible components.
![]()
Consideration of Material Properties
- Finish and Texture: Materials like PET offer a smooth finish ideal for aesthetic projects, while TPU provides a unique, flexible texture suitable for specialized applications.
- Strength and Flexibility: Nylon delivers high tensile strength and durability, making it excellent for creating load-bearing parts. TPU’s flexibility is advantageous for components needing elasticity and resilience.
- Environmental Impact: Consider the sustainability of your material choices. PET is recyclable, providing an eco-friendly option for environmentally conscious projects.
Step 3: Learn to Use 3D Modeling Software
Developing proficiency in 3D modeling software is crucial for transforming ideas into detailed digital models ready for printing. These tools offer the necessary capabilities to design, refine, and perfect models, ensuring they meet the specific requirements of your projects.
Introduction to 3D Modeling Software Options
A diverse range of 3D modeling software is available, each catering to different skill levels and project complexities. Beginners may find value in software with straightforward interfaces that simplify the modeling process, while more advanced users might seek out programs with comprehensive toolsets for intricate designs.
- SketchUp: An accessible platform for beginners, SketchUp provides an intuitive interface with easy-to-use tools, perfect for creating simple models and architectural designs. Its balance of simplicity and functionality makes it an excellent entry point into 3D modeling.
- Rhinoceros 3D: Known for its versatility, Rhinoceros 3D offers advanced modeling capabilities like NURBS and parametric design, ideal for users who need precision in detailed and complex projects, such as product design and engineering.
- Cinema 4D: Popular among creative professionals, Cinema 4D offers powerful rendering and animation tools, allowing users to develop highly detailed and dynamic models. Its robust features support a wide range of applications, from film production to game design.
We also make a list of top 15 3D modeling software especially for beginners, where you may pick up one suitable for you!
How to Create 3D Models Efficiently: Using AI Tools
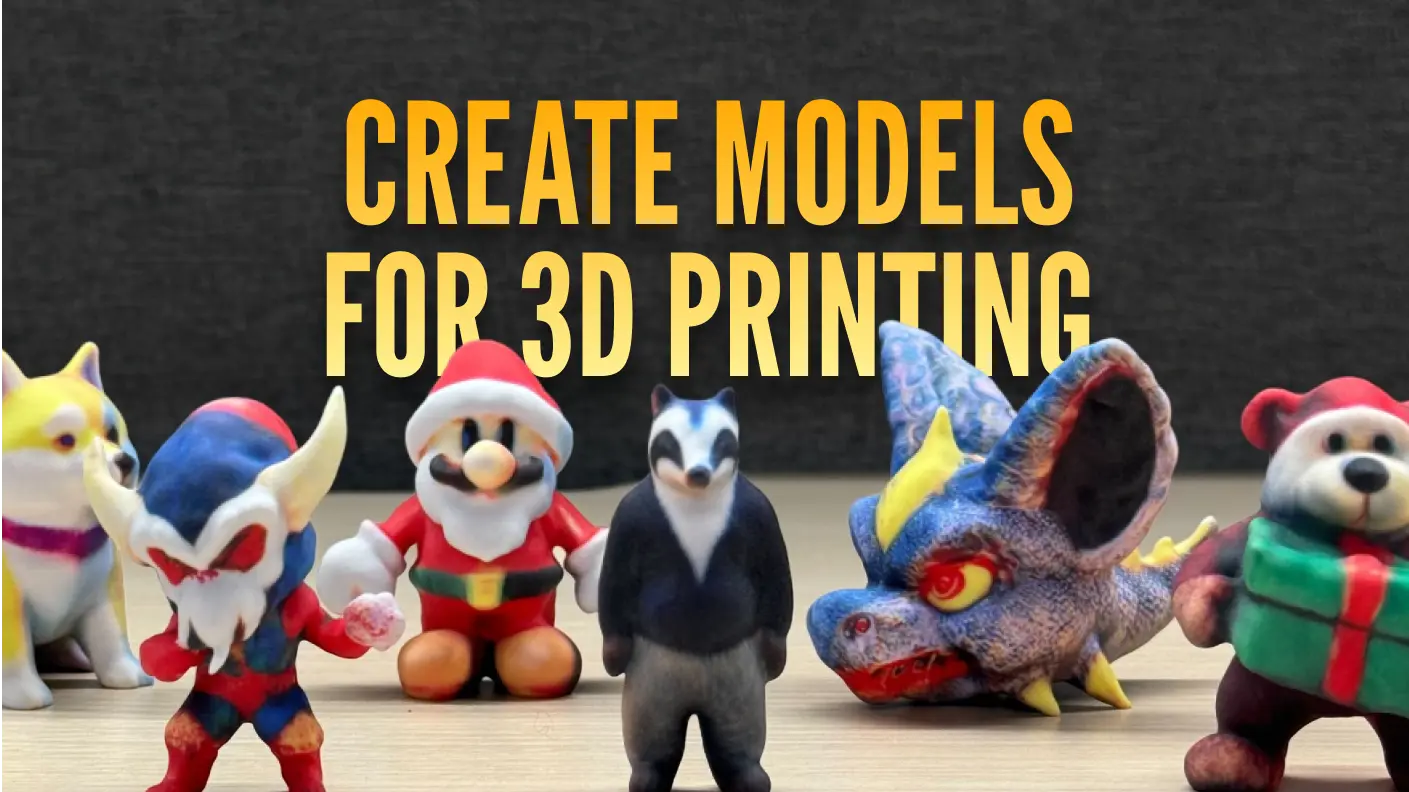
For those looking to optimize their modeling process, AI-powered tools like Meshy can significantly reduce the time and effort involved in creating 3D models. It is a platform that combines free, high-quality 3D models with AI tools like Text to 3D and Image to 3D conversion. It includes everything from fantasy creatures to everyday objects, catering to diverse creative needs. Plus, models can be modified in external tools, ensuring they meet specific requirements. Meshy has detailed texturing and animation options, allowing for realistic designs.
![]()
Step 4: Prepare Your 3D Model for Printing
This preparation includes converting digital designs into a format your printer can understand, using slicing software to generate precise instructions, and optimizing the model's orientation and support structures for successful printing.
Converting Your 3D Model into a Printable Format
The first step in the preparation process is converting your 3D model into a format compatible with 3D printers, typically an STL file. This file format breaks down the model into a mesh of triangles, capturing its surface geometry for printing.
- Export the Model: Utilize your chosen 3D modeling software to export the design as an STL file. Meshy can directly convert the image or descriptive words into STL file for 3D printing.
![]()
- Validate the File: Check for and correct any errors, such as non-manifold edges or intersecting faces, which can lead to printing failures. Use tools within the software or dedicated applications like Meshmixer for this task.
The Role of Slicing Software
Slicing software is essential in preparing the STL file for printing by translating the model into G-code instructions that guide the printer.
- Import the STL File: Load the STL file into the slicing software, such as Cura or PrusaSlicer, to begin the process.
- Configure Print Settings: Adjust settings like layer height, print speed, and infill density to suit your project's requirements. These settings determine the print's quality and structural integrity.
Optimizing Model Orientation and Support Structures
Properly orienting the model and determining necessary support structures are critical to achieving high-quality prints.
- Set Optimal Orientation: Align the model to minimize overhangs and ensure stability. Positioning the model strategically on the build plate can reduce the need for additional supports.
- Incorporate Support Structures: Generate supports using the slicer's tools for areas with overhangs or complex geometries. Ensure they provide adequate support without excessive material usage.
![]()
- Preview and Adjust: Utilize the slicer's preview feature to simulate the print process. This helps identify potential issues with support placement or orientation, allowing for adjustments before printing begins.
Step 5: Paint the Model
For painting 3D models, acrylic paints work well for most materials. Start with a base coat, then add detailed layers for texture and shading. Use small brushes or airbrushes for precision, and finish with a clear sealant to protect the paint and give the model a polished appearance.
![]()
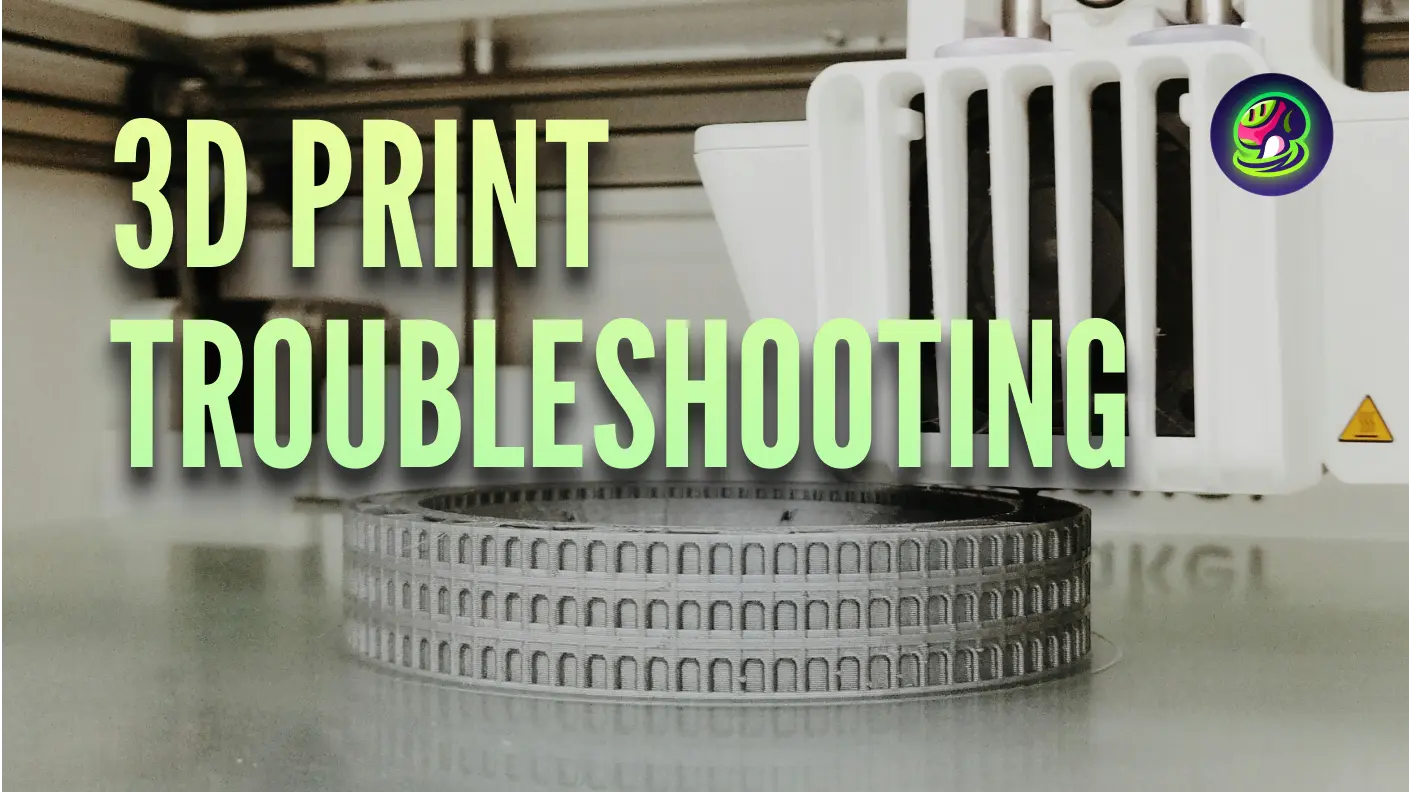
Troubleshooting Common 3D Printing Issues
Common Challenges in 3D Printing
- Dimensional Inaccuracies: These occur when the printed dimensions do not match the design specifications, often due to calibration errors or environmental factors like temperature fluctuations.
- Surface Blemishes: Irregularities on the print surface can detract from its appearance and are typically caused by nozzle blockages or inconsistent filament feed.
- Overhang Issues: Unsupported areas may sag or collapse if not properly managed during the print, leading to defects in the final product.
Practical Solutions and Troubleshooting Tips
To overcome these challenges, a combination of technical adjustments and effective strategies is essential for enhancing print reliability and quality.
- Correcting Dimensional Inaccuracies: Ensure precise calibration of the printer's axes and verify that the filament diameter is accurately entered in the slicing software. Adjust the print environment to maintain stable temperatures and reduce variations.
- Eliminating Surface Blemishes: Regularly clean and maintain the nozzle to prevent clogs and ensure smooth filament flow. Use high-quality filament to minimize feed inconsistencies and improve surface finish.
- Managing Overhangs: Use support structures strategically to stabilize overhangs during printing. Adjust the support settings in the slicer for optimal balance between support effectiveness and ease of removal.
Importance of Regular Maintenance
Consistent maintenance is crucial for preventing issues and ensuring that your 3D printer operates smoothly. Routine inspections and part replacements can avert problems before they impact print quality.
- Routine Inspections: Regularly check moving parts and apply lubricant as needed to maintain smooth operation. Inspect belts and motors for signs of wear and tension them appropriately.
- Timely Part Replacements: Replace worn components, such as belts and bearings, promptly to maintain the printer's precision and reliability. Keep spare parts on hand to minimize downtime.
By proactively addressing these common printing challenges, you can uphold a high standard of quality in your 3D prints. This diligence ensures not only reliable outputs but also a more efficient and rewarding 3D printing experience.
Tips on 3D Printing for Beginners
Embarking on the journey of 3D printing offers a unique blend of discovery and skill development. By approaching each project with curiosity and a willingness to learn, you'll gradually build the expertise needed for more complex and rewarding creations.
1. Start with Simple Projects
Initiating your 3D printing experience with uncomplicated projects allows you to focus on fundamental techniques and gain hands-on understanding. These initial steps are crucial in establishing a solid foundation upon which to expand your capabilities.
- Begin with Basic Designs: Select projects like simple geometric forms or functional items such as basic storage containers. These straightforward designs help you understand the printing process without the complexity of intricate details.
- Utilize Pre-existing STL Files: Access online libraries to find pre-made STL files for practice. Experiment with these models by adjusting various parameters to see firsthand how settings impact the final product's appearance and quality.
2. Experiment with Different Materials
Exploring a range of materials is essential to grasp their diverse properties and how they influence the outcome of your prints. Each material brings distinct advantages, affecting aspects like strength, flexibility, and surface texture.
- Explore Material Varieties: Begin with accessible options like PLA for its ease of use, then branch out to materials such as TPU or PETG, observing how each behaves under different conditions.
- Evaluate Quality and Performance: Consider how different materials affect your print's resolution and sturdiness. This understanding will guide your material choices, ensuring your projects meet their intended functional and aesthetic requirements.
3. Regularly Update Your Skills
Keeping abreast of the latest advancements in 3D printing technology is vital for continual growth and improvement. Engaging with educational resources and the broader community enhances your understanding and opens doors to new techniques.
- Stay Informed on Technological Developments: Follow industry publications and updates to learn about cutting-edge tools and methodologies. Being aware of new innovations will enable you to incorporate the latest improvements into your workflow.
- Engage with Learning Resources and Communities: Participate in online groups and forums to connect with fellow enthusiasts and professionals. Engaging in workshops and tutorials, particularly in specialized software, broadens your skill set and exposes you to a variety of creative approaches.
By adopting these strategies, beginners can effectively cultivate their 3D printing proficiency, setting the stage for more ambitious and innovative projects. As you delve into the world of 3D printing, each project will enhance your understanding and skills, paving the way for more ambitious creations. With persistence and curiosity, you'll surely unlock the full potential of 3D printing, transforming your creative ideas into reality!


