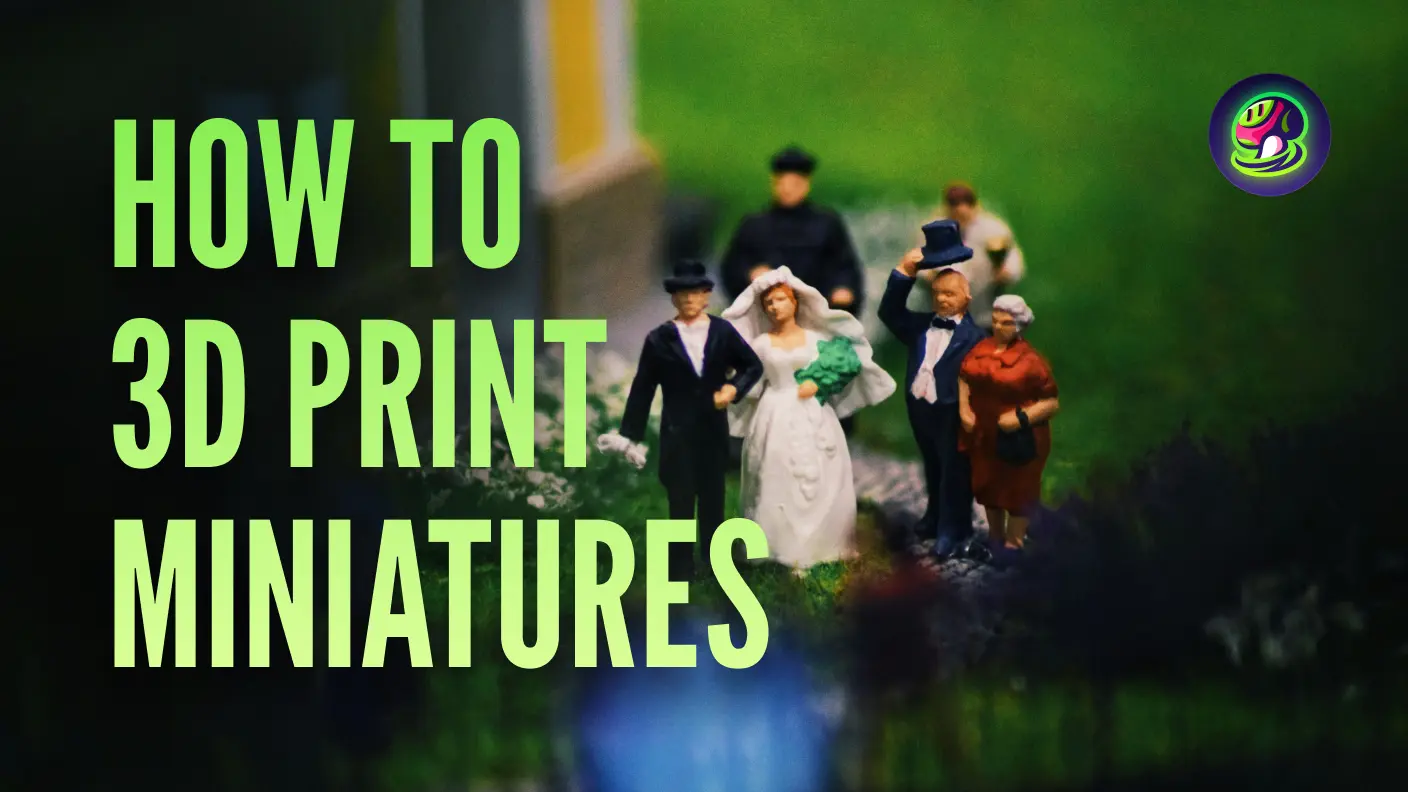
Painting 3D prints allows creators to transform raw models into vibrant, lifelike objects. It's an essential step for enhancing the aesthetic appeal and durability of prints. Whether you're working with miniatures or expansive models, painting breathes life into your 3D creations. Selecting the right paint and applying it with care brings out the desired color and texture, making your 3D prints truly stand out.
Why Paint 3D Prints?
Transforming raw 3D prints into vibrant models involves more than just applying color. Painting adds layers of depth and realism that elevate the visual experience of the model. The importance of painting extends beyond mere appearance—it's vital for finishing miniatures and other models. By mastering painting techniques, creators can produce stunning, lifelike representations that captivate audiences and add significant value to their work.
How to Paint 3D Prints
Initiating the painting process for 3D prints requires a strategic approach, focusing on techniques suited to the specific material. Each material, including PLA, ABS, and resin, demands a tailored method for optimal paint application.
Step 1: Find or Create 3D Models
Get Ready-made Models
For those looking for pre-made designs, there are many online repositories offering free 3D models for miniatures. We’ve put together some lists like Top 6 Places to Get Free 3D Game Models and Top 9 Unity Asset Stores for Free 3D Models. These sites provide a variety of models at no cost, offering an affordable way to explore different themes and styles.
Make Your Own
If you prefer to create your own miniatures, 3D character creators are a great option. We also have detailed blogs on the best 3D design software for 3D printing, including features, pros, and cons of different tools. Additionally, you can try some beginner-friendly free 3D design software, which lets you build models from scratch and experiment with different designs.
Using Meshy: Quick and Convenient
AI-powered tools like Meshy are perfect for beginners or those seeking quick results. With Meshy, you can generate 3D models directly from text or images, skipping complex design processes. This makes creating custom models easy, even without advanced skills.
![]()
Step 2: Make Your Model Printable
To make your 3D model printable, import it into slicing software, such as Chitubox or Bambu Studio. Add supports where needed, especially for overhangs, to ensure stability during printing. Once you’re ready, export the model as an STL file—the standard format for 3D printing.
Besides, if you want it quick, Meshy can directly convert the image or descriptive words into STL file for 3D printing.
![]() .
.
Step 3: Prime the Surface
Priming your 3D printed model creates a smooth base that helps paint stick better and look more vibrant. Choose a primer made for plastics, especially for materials like PLA and ABS. Apply the primer in light, even coats, allowing each layer to dry before adding the next. Using thin coats prevents drips and ensures a smooth surface. A good primer enhances the paint’s true colors, especially for metallic or translucent finishes, helping you achieve a professional result.
Step 4: Choose the Right Paint
![]()
Choosing the right paint for your 3D print is key to getting a durable and attractive finish. Water-based paints are versatile, dry quickly, and work well on various materials. Aerosol paints, on the other hand, are great for covering larger areas smoothly without losing detail. When painting PLA, which is smooth, flexible paint helps prevent cracks over time. For more rigid materials like ABS, you may need specialized primers or paints designed for plastics. Consider the display conditions too—paints with UV protection can keep your model looking vibrant for longer. To add depth and detail, use layering techniques or experiment with effects like stippling and gradient blending to give your model a unique, dynamic look.
Step 5: Apply Base Coats
For a smooth base coat on your 3D print, use aerosol paints for large models to cover surfaces quickly and evenly. For smaller, detailed areas, hand painting with fine brushes allows precision. Apply thin layers, letting each dry fully before adding the next, to avoid texture inconsistencies. Start with a complementary base color for vibrancy, and use techniques like stippling or glazing to add depth and enhance the model’s appearance.
Step 6: Detail and Finish
To add depth and realism to your 3D print, use techniques like stippling for texture or gradient blending for smooth color transitions. Precision brushes allow you to carefully control fine details, enhancing the overall realism. Once the paintwork is complete, apply a protective topcoat to preserve your model. Choose a finish that suits your design, whether matte for a subtle effect or gloss for a vibrant shine. Apply the topcoat in smooth, even layers to ensure durability and a polished look, turning your 3D print into a stunning, long-lasting visual piece.
Tips on Achieving the Best Results
1. Patience and Precision
For a professional finish, take your time and let each coat fully cure before adding the next. This prevents issues like smudging or bubbling, ensuring a smooth, sturdy surface. A slow and precise approach enhances both the look and durability of your model. Use fine brushes and tools to carefully define the details, giving your model depth and realism. Thoughtful detailing brings the model to life, turning it into a visually striking, high-quality piece.
2. Experiment and Learn
Experimenting with different techniques and materials helps you discover what works best for each project, unlocking unique textures and finishes. This process expands your skills and sparks creative breakthroughs. Engage with the 3D printing community to learn new methods, integrate fresh ideas, and stay ahead in innovation, keeping your creative journey dynamic and evolving.
Transform your 3D prints into stunning masterpieces by embracing each step of the process, from prep to detailing. Experiment, learn, and refine your skills—every model is an opportunity to showcase not just technical mastery, but your unique artistic vision. Push boundaries and let each project take you to new creative heights!


