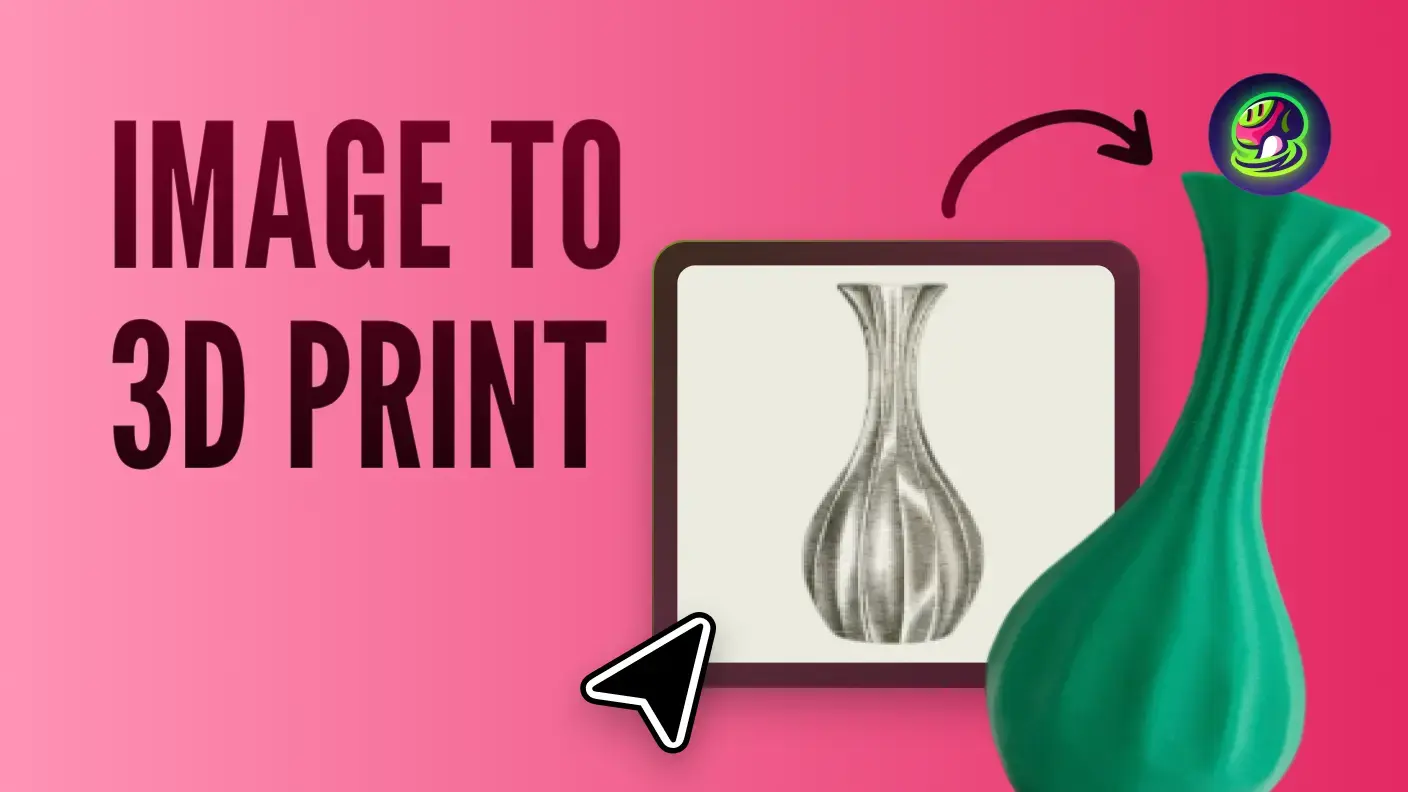
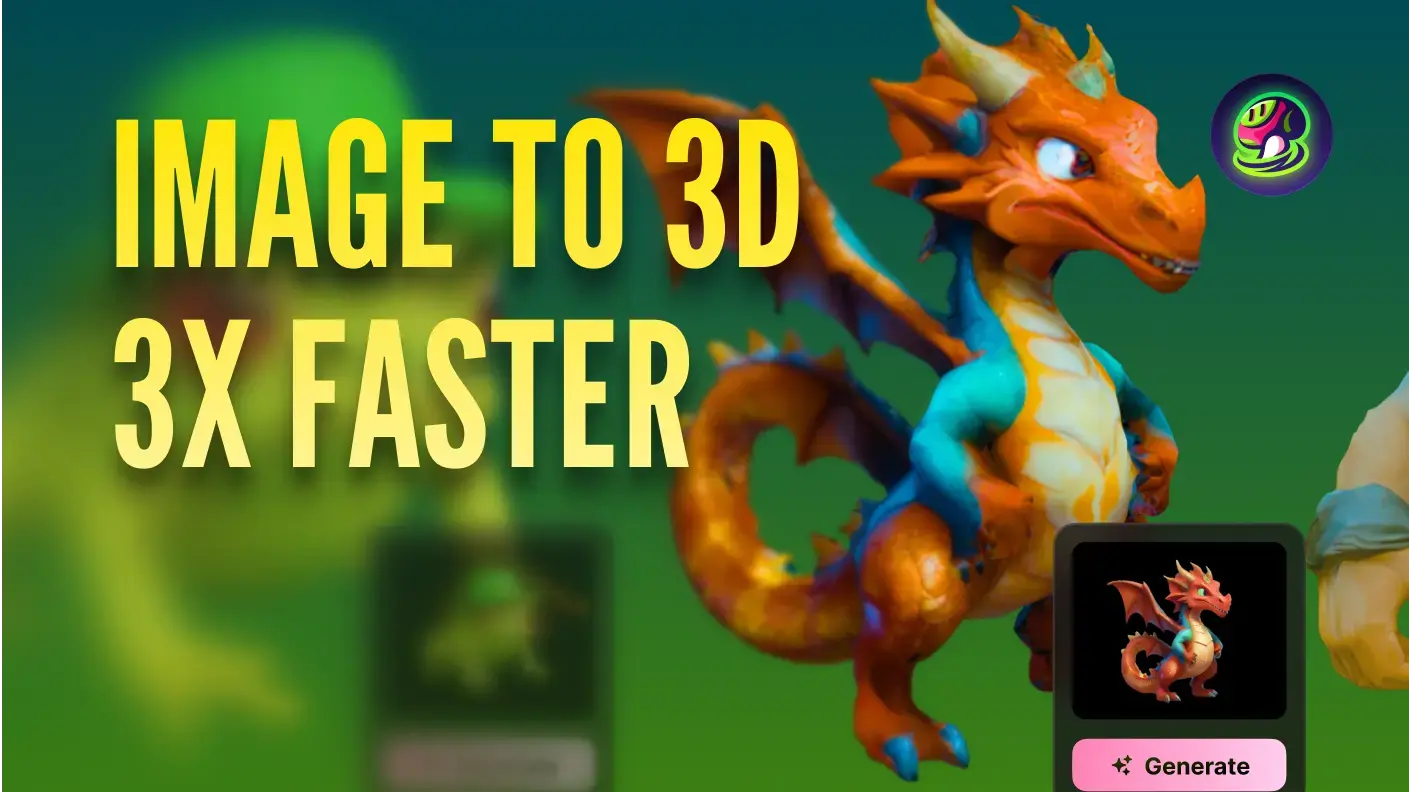
Transforming a photo into a 3D print bridges the gap between pixels and plastic. Many creators or hobbyists were still stuck in the tedious work of 3D printing conversion. But here you don't work like that anymore; just following the below four steps, you will have a seamless and intuitive experience that quickly turns a simple photo into a 3D-printed object.
- Choose an appropriate photo
- Convert and Refine the 3D Model for Printing
- Prepare for 3D printing
- Print your 3D model
This article will walk you through the step-by-step guide on how to 3D print from a photo by using Meshy. During the process, without any timeless work, you can utilize Meshy to materialize your visions with precision and ease. Let's begin the journey of Meshy's feature exploration.
How to 3D Print from a Photo
Before getting started, you need to open and log in to Meshy's website, click "Workspace" and upload an appropriate picture.
Here are more specific details listed for you:
Step 1: Choose a Suitable Photo
The clearer photos you choose, the better 3D printing you will get. Specifically, the quality and clarity of the image play an instrumental role in determining the accuracy of the model. Opt for a photo that precisely captures the subject's essence, as this will serve as the blueprint for the 3D design. To enhance the performance of photo-to-3D model conversion tools, consider these tips when selecting your image:
Practical Tips for Optimal Photos
- Resolution: Choose images with high pixel density to ensure that fine details are maintained throughout the conversion process. It is crucial for producing a model that reflects the intricacies of the original image.
- Lighting and contrast: Proper lighting shows the photograph's features, while optimal contrast helps differentiate between various elements.
- Distinguishable Edges: Images with clear and distinct edges allow the Mehsy to establish precise boundaries. Well-defined edges reduce errors during modeling, enhancing the overall quality of the 3D model.
- Consistency in Texture: Aim for photos that feature smooth and consistent textures, as these contribute to a refined surface in the 3D model. Avoid images with excessive speckles or noise, which can complicate the modeling process.
- Balanced Composition: Ensure that the main elements of the image are centered and well-framed. It helps maintain proportion during conversion and focuses attention on the main subject of the print.
- Avoidance of Overexposure: Images that are properly exposed retain all necessary details, particularly in lighter areas. Balanced exposure ensures that vital information remains intact for accurate modeling.
Step 2: Convert and Refine the 3D Model for Printing
After choosing the right photo, we need to upload a photo on Meshy.
![]()
Click "Generate" and choose the satisfying draft out of four.
![]()
Finally, choose the right format, and click "Download."
![]()
Enhancing Model Details with Mesh and Textures
If you are not satisfied with the initial generative model, you can enhance model details with mesh and textures. Refining and editing your 3D models ensures that your vision converts accurately into a tangible form. Meshy provides you with functions that convert an initial model into a refined creation.
To improve your 3D model, follow the procedures outlined below:
- Remesh: It means you can adjust the amount of polygons in the model, adapt or fix, and the topology can be quad or tri-deformed.
- Textures: Meshy can create different types of textures for you. Just provide a prompt word or upload a high-definition image.
- Stylize: You can transform the new model into a different look. Meshy provides two common styles: sculpture and BPR.
Mehsy can meet your needs with the following features:
- Time-saving: Opt for Meshy to streamline your workflow, which allows you to focus on refining your 3D models without unnecessary hurdles and finish the conversion in half a minute.
- Broad Format Support: Meshy with various input formats like obj, fbx, stl, ply, gltf/glb, dae, and 3Ds. Its support expands the usability of the software across multiple projects.
- Advanced Mapping Features: Meshy with precise mapping capabilities that can accurately translate gradients and textures into 3D space. It allows you to generate a 3D model from text or photo, which means Meshy captures the essence of the original image with minimal manual input.
- Conversion Efficiency: Meshy not only executes conversions quickly but also maintains a high-quality standard and supports rapid model iteration and testing, which is essential in fast-paced creative workflows.
- Detail Retention: Mehsy preserves the image's fine details throughout the conversion process. Ensuring retention of detail is vital for producing a 3D model that remains true to the original visual source.
![]()
Export to Compatible Formats
In this stage, it is significantly important to export to compatible 3D print file types, and models should be saved in formats like STL or OBJ to maintain fidelity during the printing phase. Captures the model's geometry in detail and prepares it for slicing and printing.
- Integrity Check: Carefully check the model for any weak spots and strengthen them to make sure it holds up during printing.
Step 3: Prepare the Model for 3D Printing
Upon crafting a detailed and precise 3D model, the next essential step involves preparing it for the printing process and setting it up with slicing software. You need to ensure that 3D models meet the technical requirements of 3D printing and carefully check the model for any issues.
Setting up with Slicing Software
Start by importing your 3D model into slicing software like Ultimaker Cura or PrusaSlicer.
Next, adjust the settings based on your needs—this includes choosing the right resolution for your print, setting the infill percentage (how solid or hollow the print will be), and deciding whether you need support structures for overhangs or complex areas. Finally, take a close look at the print preview to ensure everything looks correct, checking for any issues like unsupported parts or unnecessary overhangs.
- Slicing Test: Use slicing to simulate the printing process and spot issues like unsupported areas or steep overhangs.
Step 4: Print Your 3D Model
After all your preparation, it's time to bring your digital model to life. Start by getting your 3D printer ready—make sure it's set up to match the needs of your model. Proper setup is key to ensuring the design stays accurate as it moves from digital to physical form.
![]()
Configuring the Printer for Optimal Performance
For high-quality print, your 3D printer needs to be carefully calibrated. This means adjusting both the hardware and software settings to suit your model, ensuring everything prints accurately and precisely.
- Printer Calibration: Make sure the printer's parts, like the build plate and extruder, are properly aligned and working well. This basic setup helps avoid problems like misaligned layers or warping that could ruin the print.
- Software Settings: Enter your model's dimensions and material type into the printer's software. Then, adjust settings like print speed and layer height to improve the resolution and strength of the print.
Selecting the Appropriate Materials
The material you choose plays a big role in how your print looks and lasts. Pick one that suits both the appearance and purpose of your model.
- Material Properties: Different materials have different strengths—PLA is easy to use, while nylon is strong and flexible.
- Environmental Adjustments: Keep things in mind, like room temperature, as it can affect how the material performs. Adjust the printer settings to account for these factors and ensure a smooth print.
Ensuring Quality Control During Printing
Monitoring the printing process is crucial for maintaining quality and addressing any issues that arise. Vigilant oversight allows for real-time adjustments, ensuring the print meets the desired standards.
- Active Monitoring: Observe the print as it progresses, looking for inconsistencies or defects. Quick intervention can resolve issues, preserving the model's integrity.
- Post-Print Evaluation: After printing, conduct a detailed inspection of the model to verify its alignment with the original design. Ensure completeness and precision to confirm the final product reflects your creative vision.
Conclusion
That's all about a comprehensive guide on how to 3D print from a photo step-by-step. Turning a photo into a 3D-printed model opens up a world of creative possibilities. With the right tools and techniques, you can bring your digital ideas to life with precision and creativity. Every step, from choosing the photo to refining the model, is important for a successful print. As technology advances, creating detailed 3D models from simple photos will become even easier, offering endless chances for innovation and expression. Embrace this exciting technology and take your creative projects to the next level.


