หากคุณสงสัยว่าจะสร้างเกมใน Unity ได้อย่างไร คุณมาถูกที่แล้ว Unity เป็นแพลตฟอร์มที่ทรงพลังแต่เป็นมิตรกับผู้เริ่มต้น ซึ่งช่วยให้คุณสร้างเกมได้หลากหลายแนว ตั้งแต่การผจญภัยแบบ 2D-pixel art ไปจนถึงโลก 3D ที่มีรายละเอียด ด้วยเครื่องมือที่ใช้งานง่ายและทรัพยากรที่มีขั้นตอนอย่างละเอียด แม้แต่ผู้เริ่มต้นก็สามารถเริ่มสร้างเกมแรกของตนได้อย่างมั่นใจ
Unity ได้กลายเป็นศูนย์กลางใน การพัฒนาเกม โดยมีทุกสิ่งที่คุณต้องการเพื่อทำให้ไอเดียสร้างสรรค์ของคุณเป็นจริง อินเทอร์เฟซที่ใช้งานง่ายและคลังบทเรียนที่กว้างขวางทำให้การเรียนรู้เป็นเรื่องง่าย ในขณะที่เอนจินที่ทรงพลังช่วยให้โครงการของคุณสามารถเติบโตได้ในความซับซ้อน นอกจากนี้ ด้วยชุมชนที่สนับสนุนและการอัปเดตเป็นประจำ Unity ทำให้การสร้างเกมเป็นเรื่องที่เข้าถึงได้และคุ้มค่า พร้อมที่จะเริ่มต้นการเดินทางในการพัฒนาเกมของคุณหรือยัง? มาดำดิ่งกันเลย!
Unity คืออะไร?
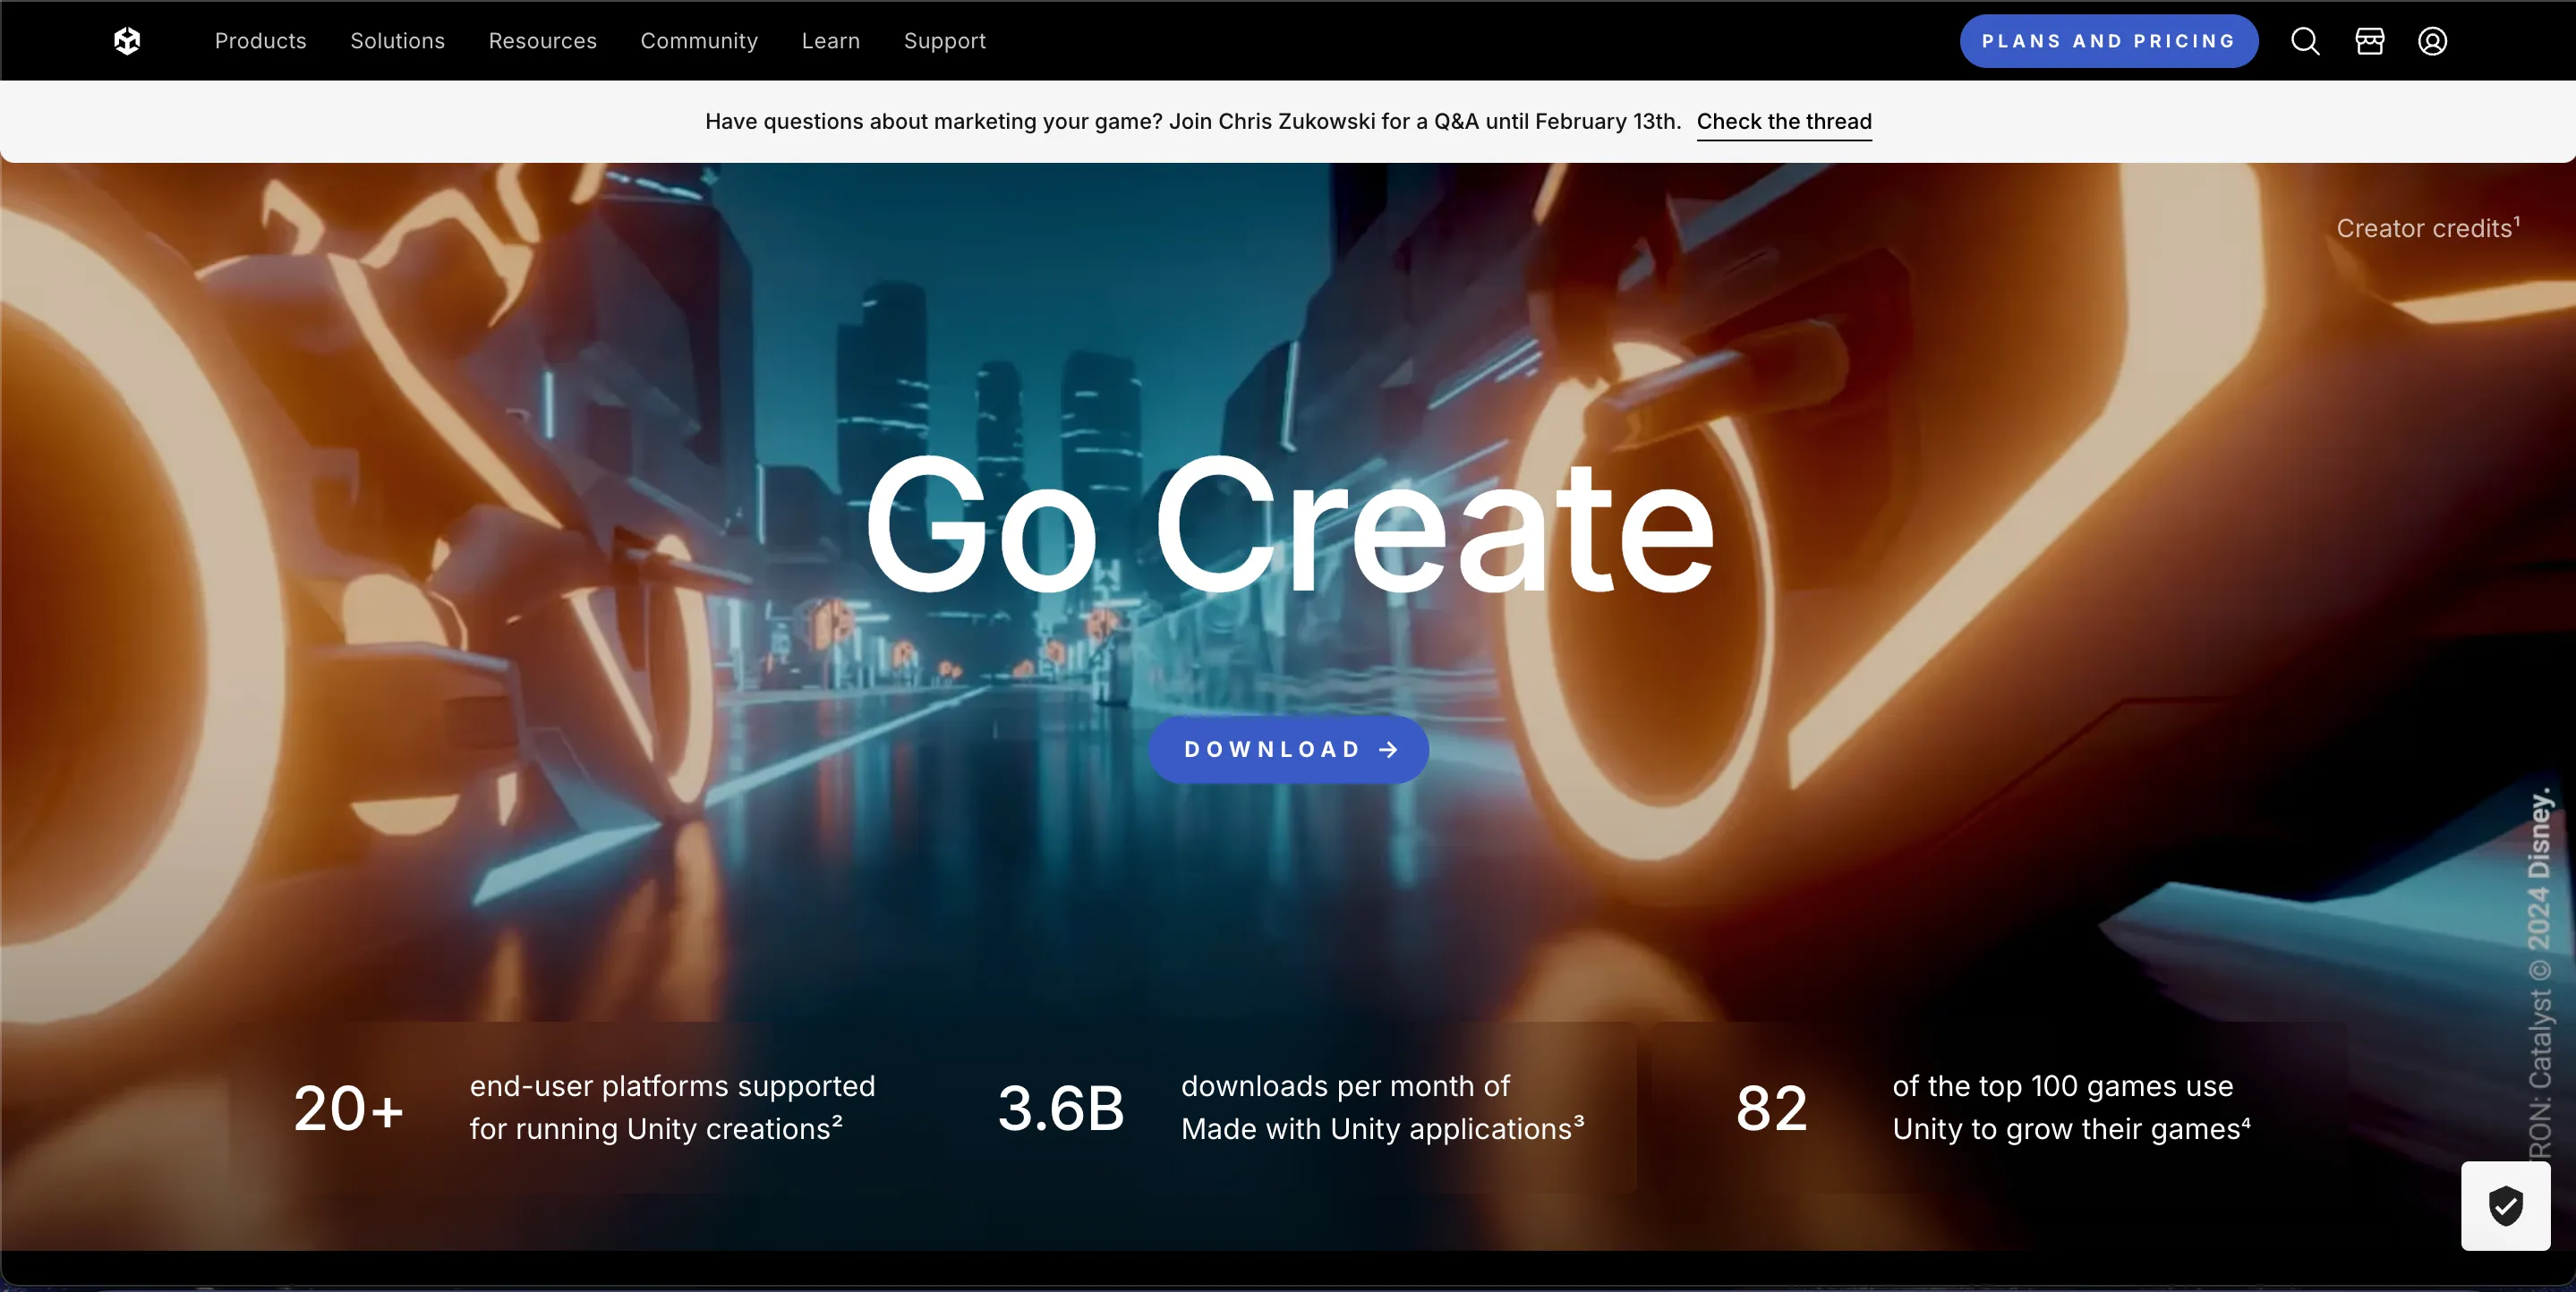
Unity เป็น เอนจินเกม ที่ช่วยให้คุณสร้างประสบการณ์แบบอินเทอร์แอคทีฟในรูปแบบ 2D, 3D, AR และ VR ไม่ว่าคุณจะเป็นผู้เริ่มต้นหรือผู้พัฒนาที่มีประสบการณ์ อินเทอร์เฟซที่ใช้งานง่ายและเครื่องมือที่ทรงพลังทำให้การพัฒนาเกมเป็นเรื่องที่เข้าถึงได้ง่ายขึ้น ด้วย Unity คุณสามารถสร้างเกมสำหรับแทบทุกแพลตฟอร์ม—PC, มือถือ หรือแม้กระทั่งคอนโซลเกม—โดยไม่จำเป็นต้องเริ่มต้นจากศูนย์
ที่แกนหลักของ Unity คือ Unity Editor ซึ่งคุณออกแบบ ทดสอบ และปรับแต่งเกมของคุณ มันใช้ C# สำหรับการเขียนสคริปต์ ช่วยให้คุณเพิ่มกลไกและการโต้ตอบที่ซับซ้อน คุณสามารถนำเข้าแอสเซ็ตเช่นโมเดล, เท็กซ์เจอร์, และเสียง หรือใช้ทรัพยากรที่พร้อมใช้งานจาก Unity Asset Store เพื่อเร่งการพัฒนา ไม่ว่าจะเป็นขนาดโครงการใด Unity มีทุกสิ่งที่คุณต้องการเพื่อทำให้ไอเดียเกมของคุณเป็นจริง
วิธีสร้างเกมใน Unity?
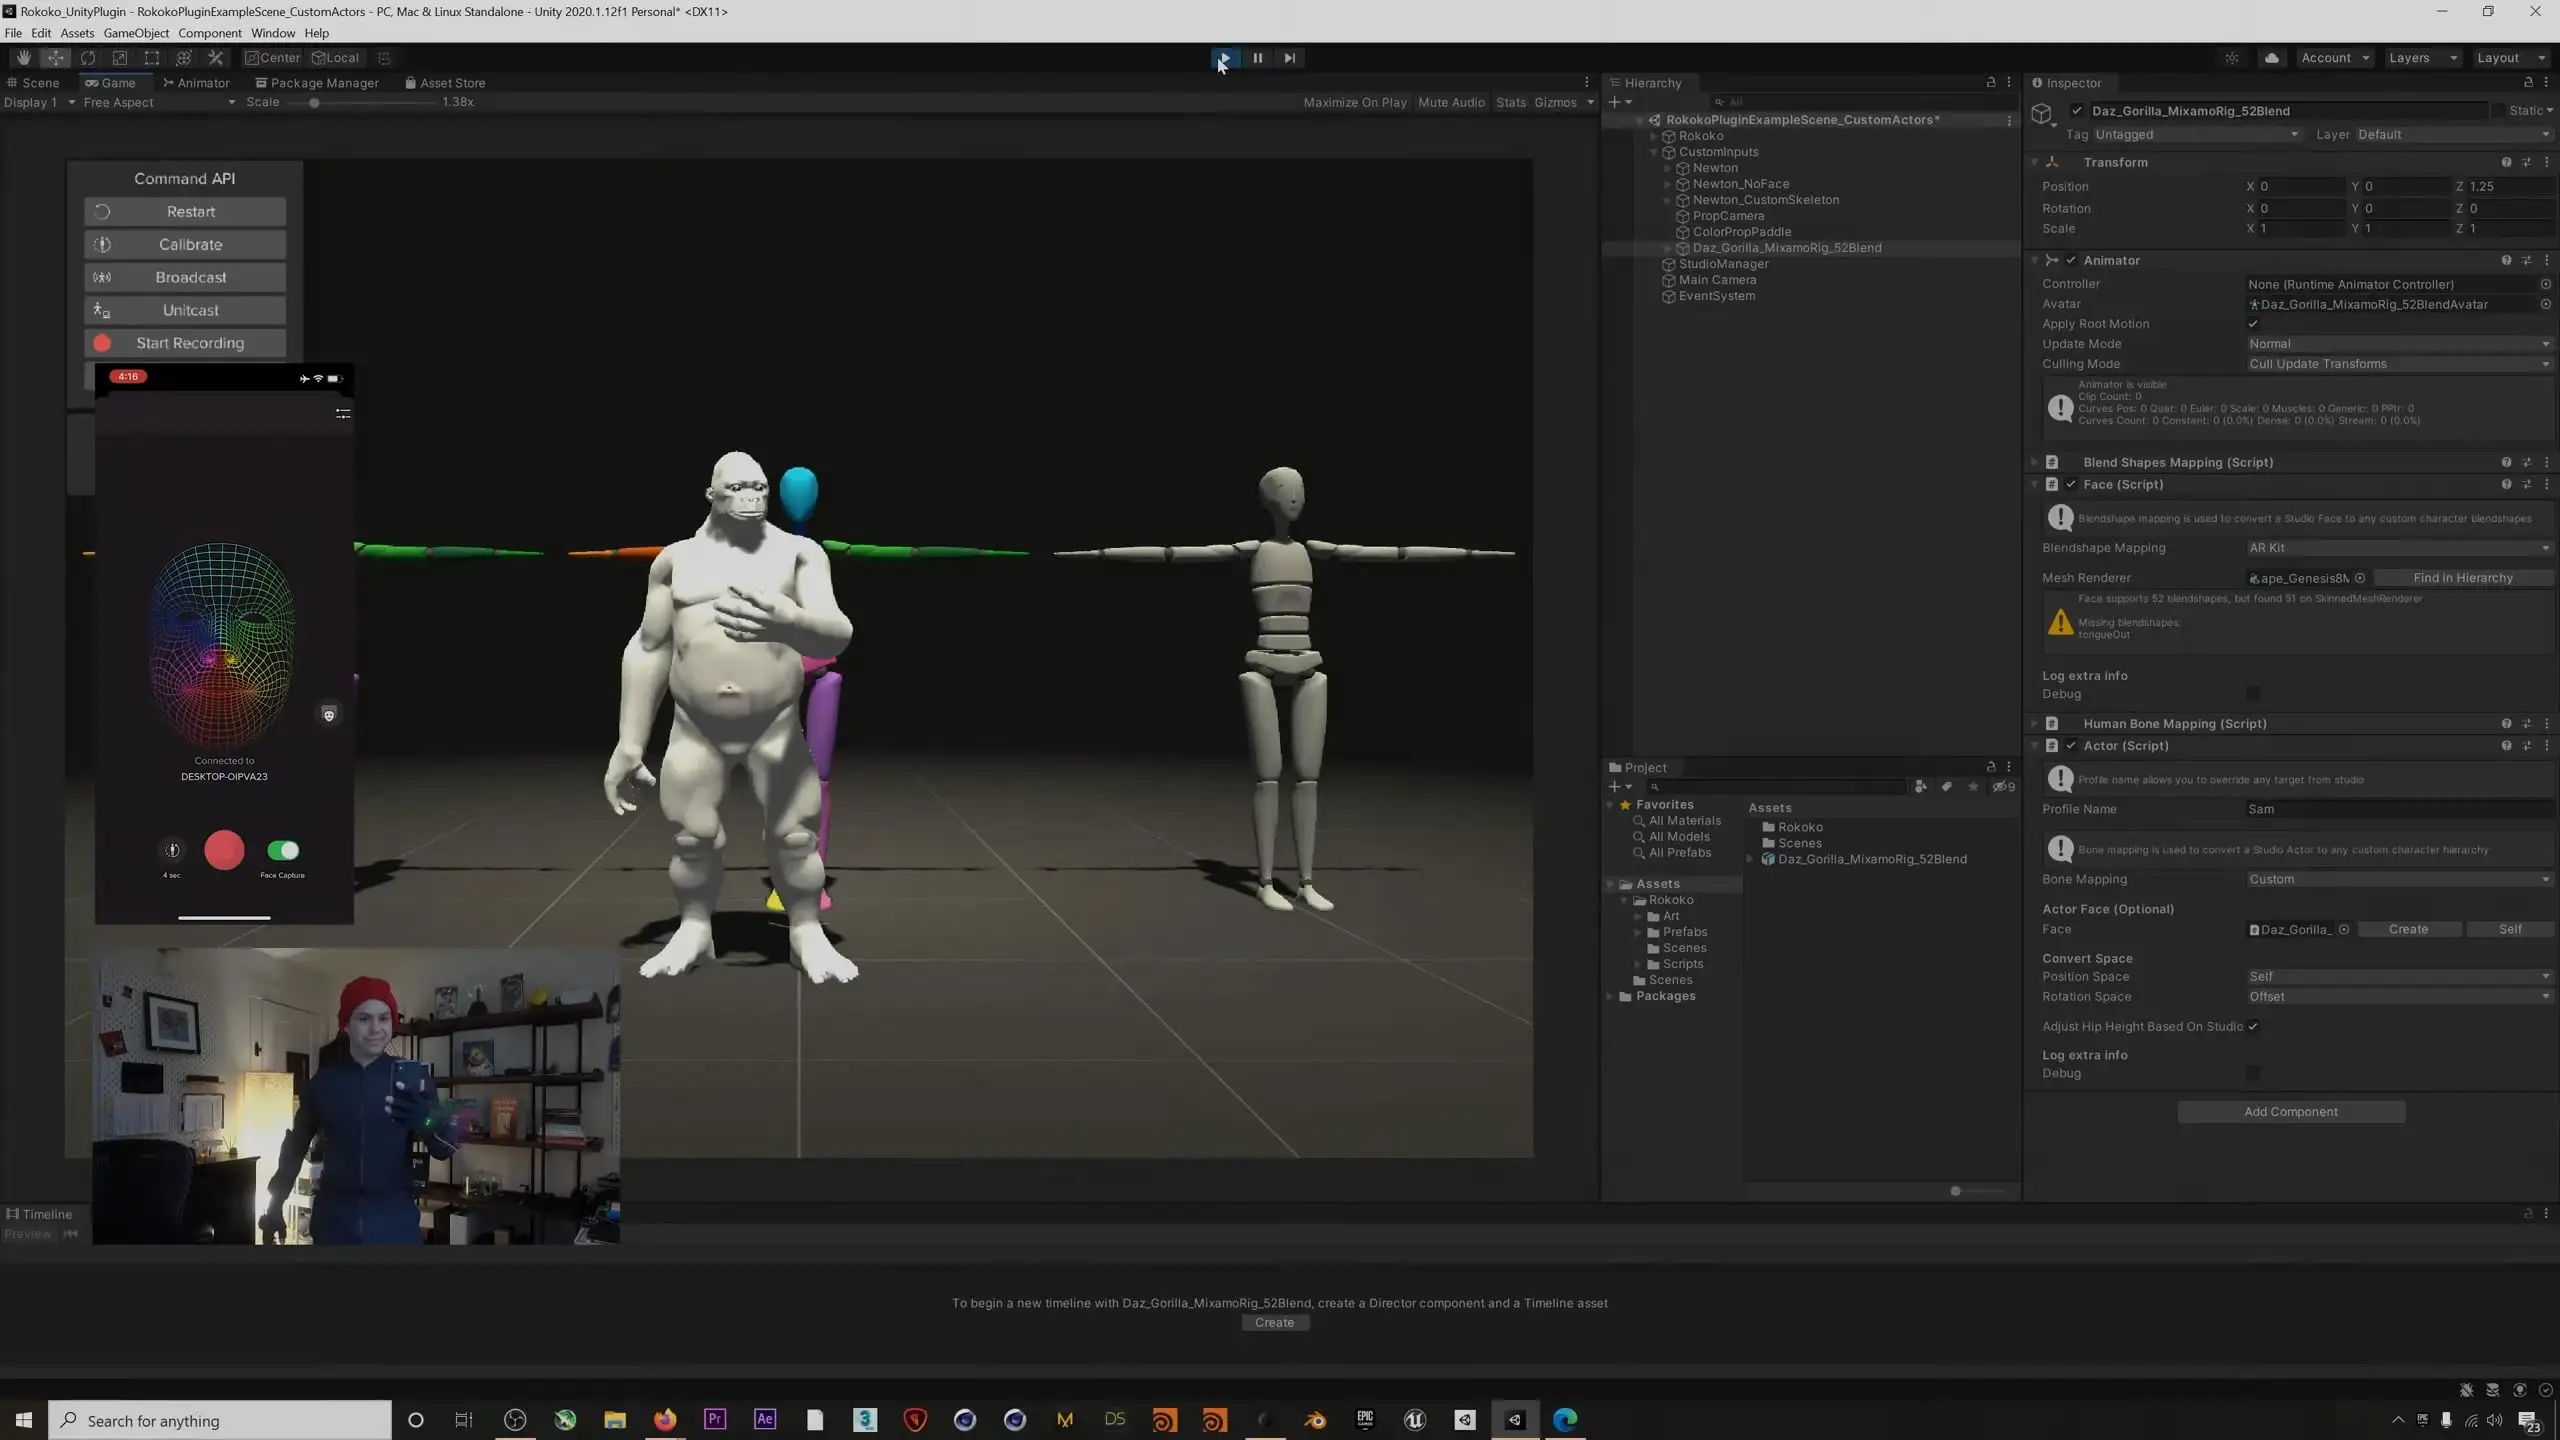
การเริ่มต้นการเดินทางในการพัฒนาเกมใน Unity เกี่ยวข้องกับการทำความเข้าใจสภาพแวดล้อมการพัฒนาที่เป็นเอกลักษณ์ของมันอย่างชัดเจน ในการเริ่มต้น ให้ติดตั้ง Unity Hub ซึ่งจัดการโครงการและเวอร์ชันของเอนจินของคุณ เมื่ออยู่ภายใน Unity Editor ให้ทำความคุ้นเคยกับแผงหลัก:
- Scene View: พื้นที่ทำงานของคุณสำหรับการออกแบบระดับและการวางวัตถุ
- Hierarchy: จัดระเบียบองค์ประกอบเกมทั้งหมดในฉาก
- Inspector: ให้การควบคุมอย่างละเอียดในคุณสมบัติของวัตถุ
การตั้งค่าพื้นฐาน
สิ่งแรกที่ต้องทำ—ดาวน์โหลด Unity Hub นี่คือศูนย์กลางหลักของคุณสำหรับการจัดการการติดตั้งและโครงการของ Unity ทำให้ง่ายต่อการสลับระหว่างเวอร์ชันและเก็บทุกอย่างให้เป็นระเบียบ เมื่อคุณติดตั้งแล้ว ให้ใช้เวลาสักครู่ในการกำหนดค่า Unity Editor ให้เหมาะกับการทำงานของคุณ การตั้งค่าที่มีโครงสร้างดีตั้งแต่เริ่มต้นสามารถช่วยให้คุณประหยัดปัญหาได้มากในอนาคต
จากนั้นถึงเวลาสร้างโครงการของคุณ Unity ให้คุณเลือกได้ระหว่างเทมเพลต 2D และ 3D ขึ้นอยู่กับสไตล์และกลไกของเกมของคุณ ตัวเลือกนี้มีผลต่อทุกอย่าง—ตั้งแต่การทำงานของแอสเซ็ตไปจนถึงวิธีการรวมเกมเพลย์ของคุณเข้าด้วยกัน กุญแจสำคัญคือความมั่นใจ: ยิ่งคุณรู้สึกสบายใจในการนำทางอินเทอร์เฟซของ Unity มากเท่าไหร่ คุณก็จะสามารถนำไอเดียเกมของคุณมาสู่ชีวิตได้อย่างมีประสิทธิภาพมากขึ้นเท่านั้น
ความสำคัญของการสำรวจ
Unity เรียนรู้ได้ดีที่สุดด้วยการลงมือทำ ดำดิ่งและเริ่มทดลอง—สร้างวัตถุ ย้ายพวกมันไปรอบ ๆ ใน Scene View และดูว่าพวกมันโต้ตอบกันอย่างไร การทำความเข้าใจว่าทุกอย่างทำงานอย่างไรตั้งแต่เนิ่นๆ จะทำให้กลไกที่ซับซ้อนมากขึ้นง่ายต่อการจัดการในภายหลัง การมีโครงสร้างช่วยได้ แต่ไม่มีอะไรดีไปกว่าการฝึกฝนด้วยตนเองเมื่อพูดถึงการทำความเข้าใจระบบหลักของ Unity แน่นอนว่าคุณไม่จำเป็นต้องค้นหาทุกอย่างด้วยตัวเอง Unity มีคลังขนาดใหญ่ของบทเรียน เอกสาร และฟอรัมชุมชนที่คุณสามารถค้นหาวิธีแก้ปัญหาและพัฒนาทักษะของคุณ ไม่ว่าคุณจะกำลังสร้างต้นแบบเล็ก ๆ หรือทำงานไปสู่เกมที่เต็มเปี่ยม การใช้ประโยชน์จากทรัพยากรเหล่านี้จะช่วยให้คุณสามารถจัดการกับความท้าทายและเชี่ยวชาญเครื่องมือที่คุณต้องการเพื่อนำวิสัยทัศน์ของคุณมาสู่ชีวิต
ขั้นตอนที่ 1: การตั้งค่า Unity Hub
ก่อนอื่นคุณจะต้องมี Unity Hub ซึ่งเป็นเครื่องมือแบบครบวงจรสำหรับการติดตั้ง จัดการ และจัดระเบียบโครงการ Unity ของคุณ คิดว่ามันเป็นศูนย์ควบคุมของคุณ—มันเก็บทุกอย่างไว้ในที่เดียว ตั้งแต่เวอร์ชัน Unity ที่แตกต่างกันไปจนถึงไฟล์โครงการ เพียงแค่ไปที่เว็บไซต์ทางการของ Unity ดาวน์โหลดตัวติดตั้ง และทำตามขั้นตอนการตั้งค่าอย่างง่ายเพื่อเตรียมระบบของคุณสำหรับการพัฒนาเกม
เมื่อทำการติดตั้งแล้ว ให้ใช้เวลาสำรวจอินเทอร์เฟซที่สะอาดและใช้งานง่ายของ Unity Hub คุณจะเห็นเวอร์ชัน Unity ที่มีทั้งหมดในพริบตา ทำให้ง่ายต่อการสลับระหว่างพวกมันตามความต้องการของโครงการของคุณ ในการติดตั้ง Unity Editor เพียงแค่ไปที่แท็บ "Installs" เลือกเวอร์ชันที่คุณต้องการ และเริ่มการดาวน์โหลด การอัพเดตตัวแก้ไขของคุณให้ทันสมัยจะทำให้คุณสามารถเข้าถึงคุณสมบัติและการปรับปรุงล่าสุด ทำให้กระบวนการทำงานของคุณราบรื่นตั้งแต่เริ่มต้น
แต่ Unity Hub ไม่ได้เป็นเพียงเครื่องมือจัดการเท่านั้น—มันยังเป็นประตูสู่แหล่งการเรียนรู้ ภายในคุณจะพบกับบทเรียน แม่แบบโครงการ และเนื้อหาที่ขับเคลื่อนโดยชุมชนที่ออกแบบมาเพื่อช่วยให้คุณสร้างทักษะได้อย่างรวดเร็ว ไม่ว่าคุณจะเป็นมือใหม่หรือกำลังพัฒนาทักษะของคุณ การสำรวจวัสดุเหล่านี้จะให้พื้นฐานที่มั่นคงในด้านการพัฒนาเกม เตรียมคุณให้พร้อมที่จะนำไอเดียสร้างสรรค์ของคุณมาสู่ชีวิต
ขั้นตอนที่ 2: การสร้างโครงการ Unity แรกของคุณ
ตอนนี้ Unity Hub ได้รับการตั้งค่าแล้ว ถึงเวลาส่วนที่น่าตื่นเต้น—การสร้างโครงการแรกของคุณ เปิด Unity Hub กด "New Project" และคุณจะเห็นหน้าจอตั้งค่าที่คุณกำหนดลักษณะสำคัญของเกมของคุณ การเลือกระหว่างแม่แบบ 2D หรือ 3D เป็นขั้นตอนแรกที่สำคัญ—มันจะกำหนดวิธีที่คุณเข้าถึงการออกแบบ กลไก และการพัฒนาโดยรวม หากคุณกำลังติดตามคู่มือการสร้างเกมใน Unity การเริ่มต้นด้วยการตั้งค่า 2D ง่าย ๆ หรือ 3D พื้นฐานเป็นวิธีที่ดีในการเรียนรู้พื้นฐาน
ถัดไป ตั้งชื่อโครงการของคุณและเลือกที่จะบันทึกมันที่ไหน—การจัดระเบียบตั้งแต่เริ่มต้นทำให้การพัฒนาราบรื่นขึ้นมาก เมื่อคุณเปิดโครงการของคุณใน Unity Editor คุณจะได้พบกับพื้นที่ทำงานที่ปรับแต่งตามแม่แบบที่คุณเลือก Scene View คือที่ที่คุณสร้างโลกของคุณ ในขณะที่แผง Hierarchy ช่วยให้คุณจัดการวัตถุ ต้องการปรับแต่งคุณสมบัติขององค์ประกอบหรือไม่? แผง Inspector ให้คุณควบคุมรายละเอียดต่าง ๆ เช่น ขนาด สี และพฤติกรรม การเรียนรู้ว่าองค์ประกอบเหล่านี้ทำงานร่วมกันอย่างไรเป็นกุญแจสำคัญในการพัฒนากลไกเกมที่น่าสนใจและใช้งานได้
สุดท้าย มาพูดถึงสินทรัพย์—บล็อกการสร้างเกมของคุณ ไม่ว่าจะเป็นโมเดล 3D พื้นผิว เสียง หรือสคริปต์ ทุกสิ่งที่คุณต้องการจะถูกจัดการในแผง Project การจัดระเบียบสินทรัพย์ของคุณอย่างถูกต้องทำให้กระบวนการทำงานราบรื่นและทำให้ง่ายต่อการขยายเกมของคุณเมื่อคุณก้าวหน้า หากคุณจริงจังกับการเรียนรู้วิธีสร้างเกมใน Unity การจัดการสินทรัพย์จะเตรียมคุณให้พร้อมสำหรับความสำเร็จในการสร้างประสบการณ์ที่ดื่มด่ำที่ทำให้ผู้เล่นมีส่วนร่วม
ขั้นตอนที่ 3: นำเกมของคุณมาสู่ชีวิตด้วยการเขียนสคริปต์ C#
การเปลี่ยนแนวคิดเกมที่ยอดเยี่ยมให้กลายเป็นการเล่นเกมจริงหมายถึงการใช้ระบบการเขียนสคริปต์ที่ทรงพลังของ Unity ที่แกนกลางของมันคือ C# ซึ่งเป็นภาษาการเขียนโปรแกรมที่ยืดหยุ่นและมีประสิทธิภาพที่ช่วยให้คุณสร้างทุกอย่างตั้งแต่การโต้ตอบง่าย ๆ ไปจนถึงกลไกที่ซับซ้อน
ไม่ว่าจะเป็นการจัดการการเคลื่อนไหวของผู้เล่น การกระตุ้นการเคลื่อนไหว หรือการจัดการตรรกะของเกม การเขียนสคริปต์คือสิ่งที่เปลี่ยนฉากที่นิ่งเป็นประสบการณ์ที่มีชีวิตชีวาและดื่มด่ำ การเชี่ยวชาญ C# ใน Unity ให้คุณควบคุมการกำหนดรูปแบบที่เกมของคุณรู้สึกและตอบสนอง
การเขียนสคริปต์แรกของคุณ
ใน Unity, สคริปต์จะกำหนดพฤติกรรมของวัตถุ เพื่อเริ่มต้น ให้สร้างสคริปต์ C# ใหม่ในแผง Project จากนั้นแนบมันกับวัตถุเกมใน Scene หรือ Hierarchy สคริปต์นี้ทำหน้าที่เป็นชุดคำสั่ง บอกวัตถุว่าจะทำอะไร—เคลื่อนที่ หมุน ตอบสนองต่อการป้อนข้อมูลของผู้เล่น หรือโต้ตอบกับสภาพแวดล้อม
หัวใจของกรอบการเขียนสคริปต์ของ Unity คือ MonoBehaviour ซึ่งเป็นคลาสที่มีเมธอดสำคัญเช่น Awake, Start, และ Update ซึ่งกำหนดว่าเมื่อใดและอย่างไรที่การกระทำจะเกิดขึ้น ไม่ว่าจะเป็นการเริ่มต้นตัวแปร การคำนวณฟิสิกส์ หรือการอัปเดตแอนิเมชันแบบเรียลไทม์
การทำให้สคริปต์ของคุณทำงาน
เมื่อสคริปต์ของคุณพร้อมแล้ว เพียงลากมันไปยังวัตถุ และมันจะเริ่มควบคุมพฤติกรรมของวัตถุนั้น ต้องการประตูที่เปิดเมื่อผู้เล่นเข้าใกล้หรือไม่? สคริปต์สามารถทำให้สิ่งนั้นเกิดขึ้นได้ ต้องการ AI ศัตรูที่ติดตามผู้เล่นหรือไม่? การเขียนสคริปต์ C# ช่วยคุณได้ ยิ่งคุณทดลองมากเท่าไหร่ คุณก็จะยิ่งพัฒนาความสามารถในการสร้างกลไกที่โต้ตอบและเรียบร้อยมากขึ้นเท่านั้น
เพื่อพัฒนาทักษะการเขียนโค้ดของคุณให้ดีขึ้น ลองศึกษาบทเรียนและเอกสารของ Unity ซึ่งคุณจะพบกับแนวทางปฏิบัติที่ดีที่สุดและเคล็ดลับการแก้ปัญหา ด้วยสคริปต์แต่ละตัวที่คุณเขียน คุณจะเข้าใกล้การสร้างโลกเกมที่ไร้รอยต่อและน่าสนใจอีกขั้นหนึ่ง
ขั้นตอนที่ 4: การออกแบบองค์ประกอบของเกม
การทำให้โลกเกมของคุณมีชีวิตชีวา
การสร้างองค์ประกอบเกมที่ดื่มด่ำใน Unity เป็นเรื่องของการผสมผสานความคิดสร้างสรรค์กับการดำเนินการที่ชาญฉลาด มันไม่ใช่แค่การทำให้สิ่งต่าง ๆ ดูดี—มันเกี่ยวกับการสร้างประสบการณ์ที่ดึงดูดผู้เล่น Unity ทำให้ง่ายขึ้นด้วยการเลือกใช้ไลบรารีของบุคคลที่สามและที่เก็บสินทรัพย์ที่หลากหลาย ซึ่งมีทุกอย่างตั้งแต่โมเดลและพื้นผิวคุณภาพสูงไปจนถึงเอฟเฟกต์เสียงและดนตรี
แทนที่จะใช้เวลานับไม่ถ้วนในการสร้างสินทรัพย์ทุกชิ้นตั้งแต่ต้น คุณสามารถใช้ทรัพยากรเหล่านี้เพื่อมุ่งเน้นไปที่การเล่นเกมและการเล่าเรื่องในขณะที่ยังคงมอบประสบการณ์ที่สมบูรณ์ทั้งด้านภาพและเสียง
การสร้างภาพและเสียงที่ดึงดูดผู้เล่น
เกมที่ดูดีไม่ได้เกิดขึ้นโดยบังเอิญ—มันเกี่ยวกับการเลือกที่ตั้งใจ การใช้สินทรัพย์ภายนอกช่วยให้คุณสร้างสภาพแวดล้อมที่มีรายละเอียดและตัวละครที่ดูสมจริงโดยไม่ต้องยืดทรัพยากรของคุณให้บางเกินไป แต่มันมากกว่าแค่กราฟิก; การออกแบบเสียงก็มีความสำคัญไม่แพ้กัน เอฟเฟกต์เสียงที่วางไว้อย่างดี ดนตรีพื้นหลัง และแม้แต่บทสนทนาของตัวละครเพิ่มความลึกให้กับโลกของคุณ ทำให้มันรู้สึกมีชีวิตชีวา
ในขณะเดียวกัน หลักการออกแบบที่ดี—เช่น การจัดแสงอย่างมีความคิด สีสัน และการจัดวางระดับ—ช่วยนำทางผู้เล่นอย่างเป็นธรรมชาติ ทำให้มั่นใจว่าพวกเขายังคงมีส่วนร่วมและดื่มด่ำในโลกที่คุณสร้างขึ้น
ทำให้โลกของเกมรู้สึกสมจริง
นอกเหนือจากภาพแล้ว การโต้ตอบของผู้เล่นเป็นกุญแจสำคัญในการทำให้โลกดูน่าเชื่อ เครื่องยนต์ฟิสิกส์ของ Unity ช่วยให้วัตถุตอบสนองต่อการเคลื่อนไหว การชน และแรงจากสิ่งแวดล้อมได้อย่างเป็นธรรมชาติ เพิ่มความสมจริงและความลึก ลองนึกถึงสภาพแวดล้อมที่ทำลายได้ ปริศนาที่ใช้ฟิสิกส์ หรือการเคลื่อนไหวของตัวละครที่ลื่นไหล—องค์ประกอบเหล่านี้ล้วนทำให้การเล่นเกมมีส่วนร่วมมากขึ้น
การกระตุ้นให้ผู้เล่นทดลองและโต้ตอบกับโลกในรูปแบบที่มีความหมายไม่เพียงแต่ทำให้กลไกดีขึ้นเท่านั้น แต่ยังเสริมสร้างความผูกพันทางอารมณ์ของพวกเขากับเกมอีกด้วย เมื่อภาพ เสียง และการโต้ตอบมารวมกันอย่างไร้รอยต่อ นั่นคือเมื่อเกมของคุณกลายเป็นประสบการณ์ที่ดื่มด่ำที่ผู้เล่นจะไม่มีวันลืม
ขั้นตอนที่ 5: การทดสอบและการดีบัก
การทดสอบและการดีบักคือจุดที่เกมของคุณเริ่มเป็นรูปเป็นร่าง มันไม่ใช่แค่การแก้ไขข้อบกพร่อง—มันเกี่ยวกับการปรับปรุงการเล่นเกม ขัดเกลากลไก และทำให้แน่ใจว่าทุกอย่างรู้สึกถูกต้อง โหมด Play ของ Unity ช่วยให้คุณทดสอบเกมของคุณแบบเรียลไทม์ ดังนั้นคุณสามารถดูว่าองค์ประกอบต่าง ๆ โต้ตอบกันอย่างไร ปรับกลไก และปรับสิ่งต่าง ๆ ได้ทันที วงจรป้อนกลับทันทีนี้มีความสำคัญต่อการจับปัญหาในช่วงต้นและทำการปรับปรุงก่อนที่มันจะกลายเป็นปัญหาที่ใหญ่ขึ้น ไม่ใช่ทุกอย่างที่จะทำงานได้อย่างสมบูรณ์แบบในครั้งแรก—และนี่คือที่ที่ Unity's Console เข้ามามีบทบาท มันจะบันทึกข้อผิดพลาด คำเตือน และข้อความจากสคริปต์ของคุณ ช่วยให้คุณติดตามได้อย่างแม่นยำว่าอะไรผิดพลาด หากประสิทธิภาพการทำงานช้าลง Unity Profiler จะเป็นเพื่อนที่ดีที่สุดของคุณ โดยจะแสดงให้คุณเห็นว่าคอขวดเกิดขึ้นที่ไหน เพื่อให้คุณสามารถปรับให้เหมาะสมสำหรับการเล่นเกมที่ราบรื่นขึ้น การดีบักที่ดีไม่ใช่แค่การแก้ไขสิ่งที่เสีย—มันเกี่ยวกับการทำให้เกมของคุณทำงานได้อย่างมีประสิทธิภาพที่สุด
การพัฒนาเกมคือการทำซ้ำ—ทดสอบ ปรับแต่ง และทำซ้ำ ทุกวงจรของการทดสอบช่วยปรับปรุงการเล่นเกม เพิ่มความเสถียร และเพิ่มประสบการณ์ของผู้เล่น แม้แต่การเปลี่ยนแปลงเล็กๆ น้อยๆ ก็สามารถสร้างความแตกต่างอย่างมากในความรู้สึกของเกมได้ ด้วยการทดสอบอย่างเป็นระบบและแก้ไขอย่างรวดเร็ว คุณจะสามารถขจัดความหยาบกร้านได้ตั้งแต่เนิ่นๆ และทำให้แน่ใจว่าเกมของคุณได้รับการขัดเกลา มีส่วนร่วม และพร้อมที่จะสร้างความประทับใจ
ขั้นตอนที่ 6: การสร้างและเผยแพร่เกมของคุณ
การเตรียมเกมของคุณสำหรับโลก
คุณได้สร้างเกมของคุณแล้ว—ตอนนี้ถึงเวลานำมันไปสู่ผู้เล่นทุกที่ หนึ่งในจุดแข็งที่ใหญ่ที่สุดของ Unity คือความสามารถในการปรับใช้ข้ามแพลตฟอร์มต่างๆ ตั้งแต่พีซีและคอนโซลไปจนถึงอุปกรณ์เคลื่อนที่และแม้แต่เว็บเบราว์เซอร์ ด้วยการตั้งค่าโครงการของคุณอย่างถูกต้อง คุณสามารถเพิ่มการเข้าถึงสูงสุดและรับประกันประสบการณ์ที่ราบรื่นไม่ว่าคุณจะเล่นเกมของคุณที่ไหน
การตั้งค่าสำหรับการเปิดตัวที่ไร้ที่ติ
ก่อนอื่น ไปที่ Unity's Build Settings และเลือกแพลตฟอร์มเป้าหมายของคุณ ไม่ว่าคุณจะเปิดตัวบนพีซี มือถือ หรือ WebGL แต่ละแพลตฟอร์มมีข้อกำหนดเฉพาะที่ส่งผลต่อประสิทธิภาพและการควบคุม
- การเพิ่มประสิทธิภาพสำหรับแพลตฟอร์มต่างๆ: ปรับการตั้งค่า เช่น คุณภาพกราฟิก การควบคุมอินพุต และการปรับแต่งประสิทธิภาพให้ตรงกับแพลตฟอร์ม เกมมือถือจำเป็นต้องมี UI ที่เป็นมิตรกับการสัมผัสและการตั้งค่าที่ประหยัดแบตเตอรี่ ในขณะที่เกมพีซีสามารถผลักดันความละเอียดที่สูงขึ้นและเอฟเฟกต์กราฟิกขั้นสูงได้
- การเพิ่มประสิทธิภาพ: Unity's Profiler ช่วยให้คุณระบุพื้นที่ที่สามารถปรับปรุงประสิทธิภาพได้ เทคนิคต่างๆ เช่น การจัดกลุ่มทรัพย์สิน การบีบอัดพื้นผิว และการจัดการหน่วยความจำอย่างชาญฉลาดช่วยให้เกมของคุณทำงานได้อย่างราบรื่นในทุกอุปกรณ์
การเผยแพร่และการแบ่งปันผลงานสร้างสรรค์ของคุณ
เกมของคุณถูกสร้างขึ้นแล้ว ตอนนี้ถึงเวลาที่จะแบ่งปันกับผู้เล่น ไม่ว่าคุณจะตั้งเป้าหมายไปที่ร้านแอพมือถือ แพลตฟอร์มพีซี หรือการกระจายผ่านเว็บ การบรรจุเกมของคุณอย่างถูกต้องและปฏิบัติตามแนวทางของแพลตฟอร์มเป็นสิ่งสำคัญ การเปิดตัวที่ราบรื่นหมายถึงการปวดหัวน้อยลงและประสบการณ์ที่ดีขึ้นสำหรับผู้ชมของคุณ
- การเลือกแพลตฟอร์มที่เหมาะสม: คิดเกี่ยวกับว่าผู้เล่นของคุณอยู่ที่ไหน หากเกมของคุณเป็นมิตรกับมือถือ ร้านแอพอย่าง Google Play หรือ App Store เป็นตัวเลือกที่ดี สำหรับเกมพีซี แพลตฟอร์มอย่าง Steam หรือ itch.io สามารถช่วยให้คุณเข้าถึงผู้ชมได้กว้างขึ้น เลือกแพลตฟอร์มที่เหมาะกับสไตล์เกมและกลุ่มเป้าหมายของคุณ
- การเตรียมพร้อมสำหรับการเปิดตัว: ตรวจสอบให้แน่ใจว่าเกมของคุณได้รับการปรับให้เหมาะสมและพร้อมสำหรับการส่ง แพลตฟอร์มต่างๆ มีขั้นตอนการอนุมัติ ดังนั้นโปรดตรวจสอบข้อกำหนดตั้งแต่เนิ่นๆ ระบบนิเวศของ Unity ทำให้การปรับการตั้งค่า การจัดการทรัพย์สิน และการปรับแต่งประสิทธิภาพก่อนการเปิดตัวเป็นเรื่องง่ายขึ้น
ขั้นตอนสุดท้ายนี้ทำให้วิสัยทัศน์ของคุณมีชีวิตขึ้นมา—สิ่งที่เริ่มต้นจากแนวคิดตอนนี้กลายเป็นประสบการณ์ที่เล่นได้พร้อมสำหรับโลก ด้วยเกมที่ขัดเกลาและแผนการจัดจำหน่ายที่เหมาะสม คุณก็พร้อมที่จะสร้างผลกระทบและเชื่อมต่อกับผู้เล่นทุกที่
คำถามที่พบบ่อย
Q1: วิธีสร้างเกม 2D ใน Unity?
ในการสร้างเกม 2D ใน Unity ให้เริ่มต้นด้วยการเปลี่ยนเป็นโหมด 2D นำเข้าภาพสไปรท์และทรัพย์สินของคุณ ออกแบบระดับของคุณด้วยเครื่องมือ Tilemap เพิ่มกลไกต่างๆ เช่น การควบคุมผู้เล่นและการชนกัน จากนั้นทดสอบและขัดเกลาเกมของคุณจนกว่าจะรู้สึกว่าพอดี
Q2: การสร้างเกมด้วย Unity ง่ายไหม?
Q2: ในขณะที่การสร้างเกมง่ายๆ สามารถทำได้ง่าย การจัดการกับโครงการที่ซับซ้อนมากขึ้นมักจะต้องการความเข้าใจที่ลึกซึ้งยิ่งขึ้นเกี่ยวกับหลักการพัฒนาเกมและประสบการณ์การใช้งานจริง
Q3: วิธีสร้างเกม VR ใน Unity?
ในการสร้างเกม VR ใน Unity เริ่มต้นด้วยการตั้งค่าการสนับสนุน VR โดยใช้ XR Plugin Management นำเข้าเครื่องมือเช่น XR Interaction Toolkit ออกแบบสภาพแวดล้อม 3D ที่ดื่มด่ำ เพิ่มการโต้ตอบเช่นการเคลื่อนไหวและการจัดการวัตถุ และทดสอบและปรับแต่งเกมของคุณเพื่อประสบการณ์ VR ที่ราบรื่น
Q4: การสร้างเกมใน Unity ฟรีหรือไม่?
Unity Personal จะยังคงฟรี และเราได้เพิ่มขีดจำกัดรายได้และการระดมทุนจาก $100,000 เป็น $200,000 ทำให้ผู้สร้างมากขึ้นสามารถใช้ Unity ได้โดยไม่มีค่าใช้จ่าย
Q5: ฉันสามารถขายเกมที่สร้างใน Unity ได้หรือไม่?
คุณสามารถขายเกมเชิงพาณิชย์ที่สร้างด้วย Unity Personal Edition ได้ ตราบใดที่คุณปฏิบัติตามข้อกำหนดคุณสมบัติที่ระบุไว้ในข้อกำหนดซอฟต์แวร์ Unity Editor สำหรับข้อมูลรายละเอียดเกี่ยวกับคุณสมบัติระดับ โปรดดูแนวทางปฏิบัติอย่างเป็นทางการ
ข้อคิดสุดท้าย
การพัฒนาเกมใน Unity ไม่ใช่แค่การทำโครงการให้เสร็จ—มันเป็นการเดินทางที่ต่อเนื่องของความคิดสร้างสรรค์และการเติบโต ทุกเกมที่คุณสร้างเป็นโอกาสในการทดลอง ปรับปรุงทักษะของคุณ และผลักดันแนวคิดใหม่ไปข้างหน้า เมื่อเทคโนโลยีพัฒนาและความคาดหวังของผู้เล่นเปลี่ยนแปลง การคงความยืดหยุ่นและกระตือรือร้นที่จะเรียนรู้จะทำให้คุณก้าวไปข้างหน้าในเกม หากคุณสงสัยว่าจะสร้างเกมใน Unity ได้อย่างไร จำไว้ว่ามันเกี่ยวกับการเริ่มต้นเล็กๆ เรียนรู้พื้นฐาน และสร้างจากตรงนั้น
แต่ละโครงการเป็นขั้นตอนสู่การเชี่ยวชาญในฝีมือของคุณ สำรวจกลไกใหม่ๆ รับแรงบันดาลใจจากชุมชน และดำดิ่งสู่ทรัพยากรที่ไม่มีที่สิ้นสุด ยิ่งคุณสร้างมากเท่าไหร่ คุณก็จะยิ่งมั่นใจและมีทักษะมากขึ้นเท่านั้น ดังนั้นจงทดลองต่อไป ทำซ้ำต่อไป และที่สำคัญที่สุด—สนุกกับการสร้าง เกม การพัฒนาเกมมีความเป็นไปได้ไม่จำกัด และแนวคิดที่ยอดเยี่ยมต่อไปของคุณอยู่ใกล้แค่เอื้อม ขอให้สนุกกับการสร้างเกม!